A good while back, I picked up a somewhat crusty Compaq SLT/286 “portable” with an azerty keyboard for $20. The owner sold it saying that the laptop wouldn’t fire up, the power supply just blinked a green LED, and that was it. I was just happy to add a 286 to my collection, and for the of fun trying to bring it back to life!
Well, today I found a folder on my phone with all the pictures I took so that, a) I could put the damn thing back together, and b) for that big long article I was going to write about the fix process. (haha)
Instead… Here’s a 65 image pictorial, with some random comments and links thrown in.
Compaq SLT/286 Links and Resources
Here are some helpful links related to the SLT/286
Manuals and documentation for many vintage systems, including Compaq
https://minuszerodegrees.net/manuals.htm#Compaq
Compaq SLT/286 Service Guide
https://www.minuszerodegrees.net/manuals/Compaq/Compaq%20SLT286%20and%20SLT386s20%20-%20Maintenance%20and%20Service%20Guide.pdf
Compaq SLT/286 disassembly instructions
https://www.classic-computers.org.nz/blog/2009-12-05-opening%20up%20a%20compaq%20slt-286.htm
Compaq Portable Diagnostic Disk
https://archive.org/details/CompaqPortableDiagnosticDisk
Software solution for the dead RTC clock:
https://www.vogons.org/viewtopic.php?t=68888
Zip file with a couple of screenshots that list the proper values for the power supply capacitors, for both the internal and external supplies.
https://minuszerodegrees.net/manuals/Compaq/Compaq%20SLT286%20-%20Miscellaneous.zip
The power Supply
When I got it home I was delighted to see that the laptop started up, and besides the clock battery being dead, there didn’t seem to be any other major issues. The laptop was far from pristine, but it was working. And, well, that lasted for about 20 minutes, and the power supply quit, went back to flashing a green LED, and that’s the last time I ever got anything out of it.
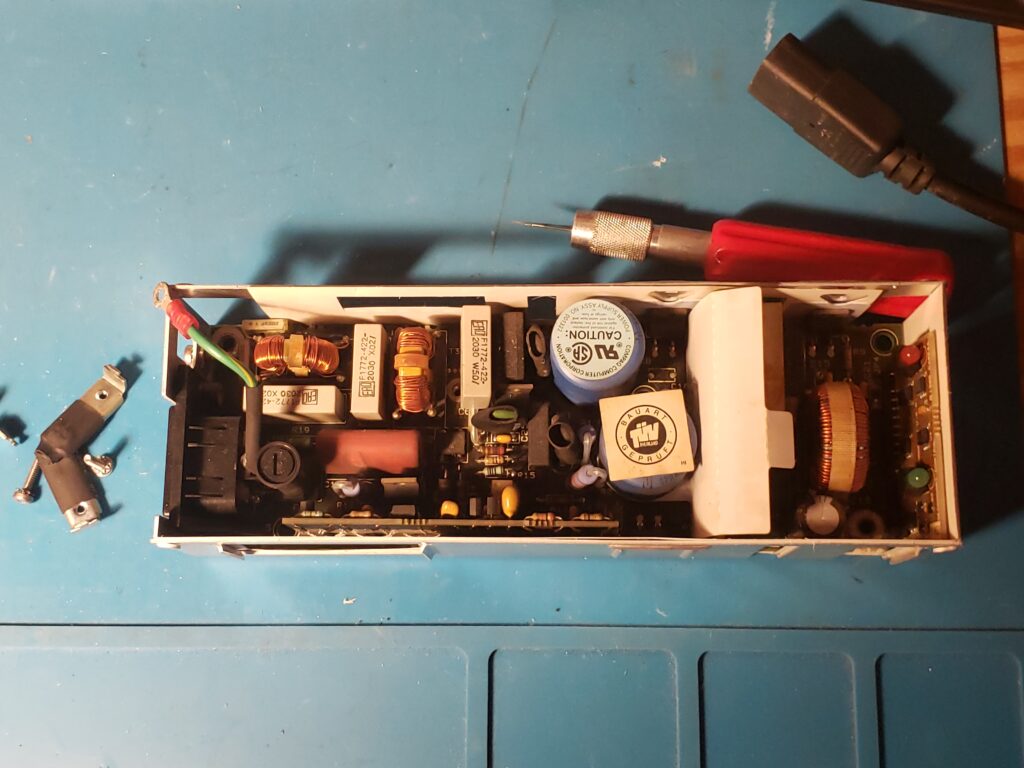
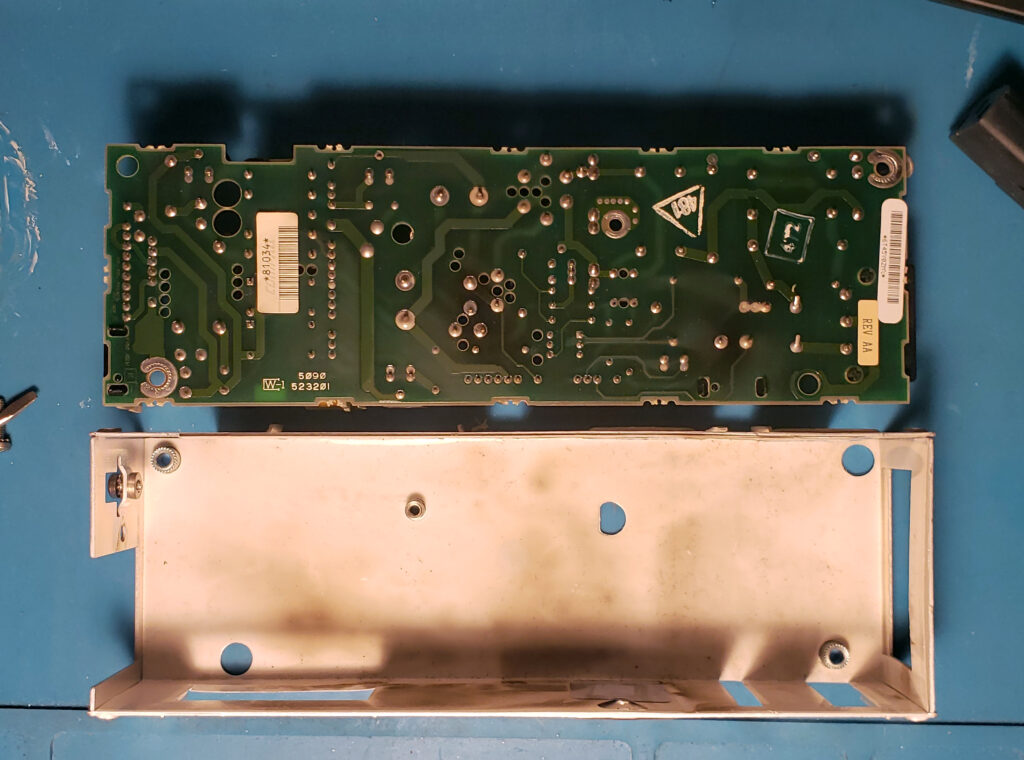
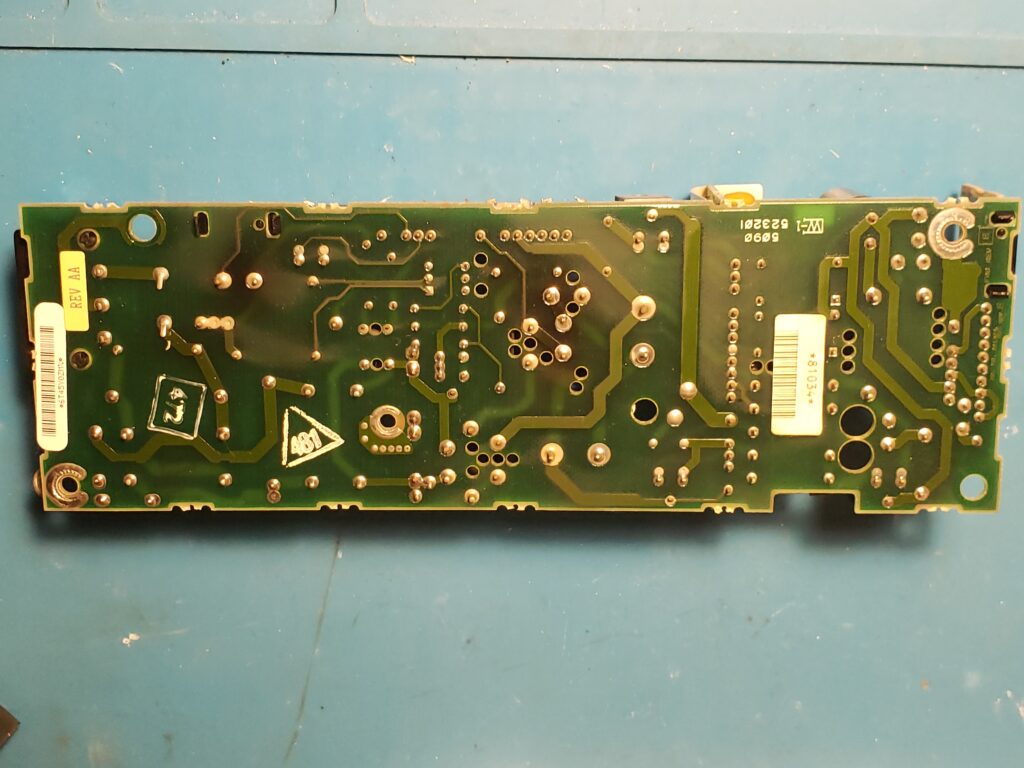
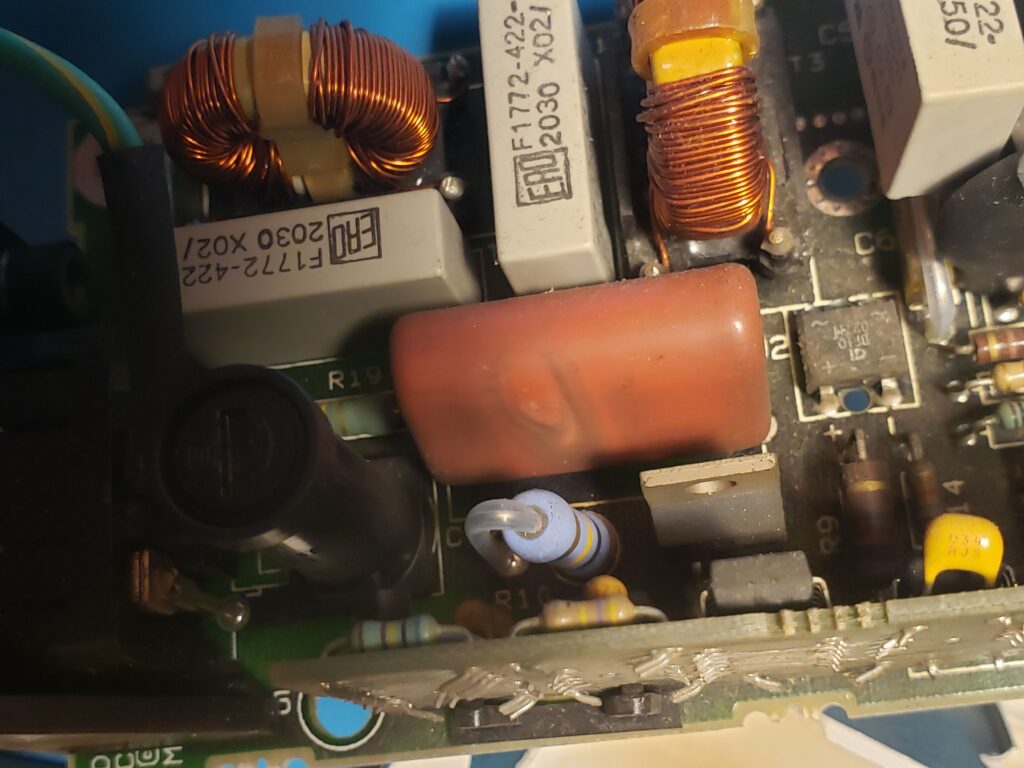
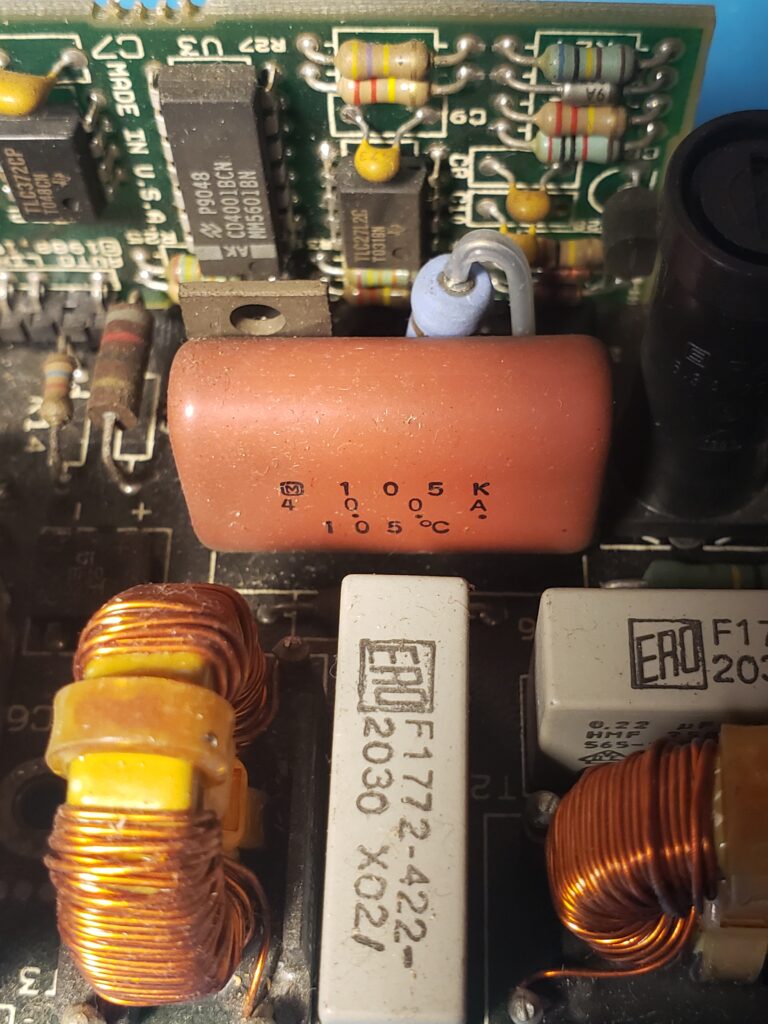
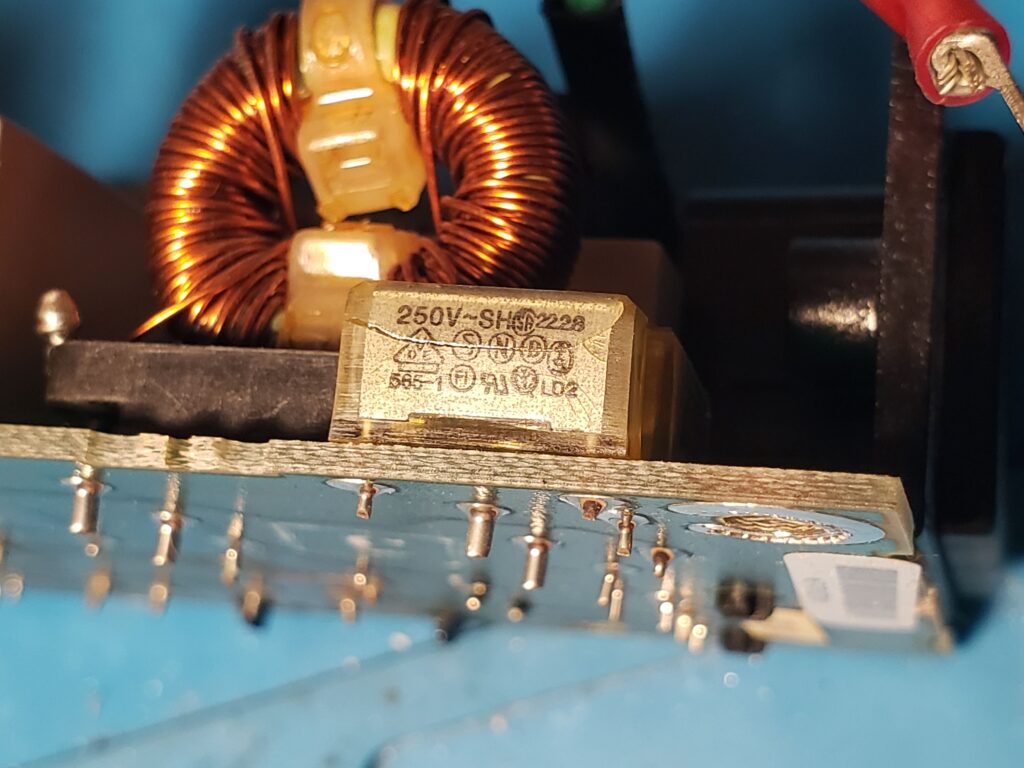
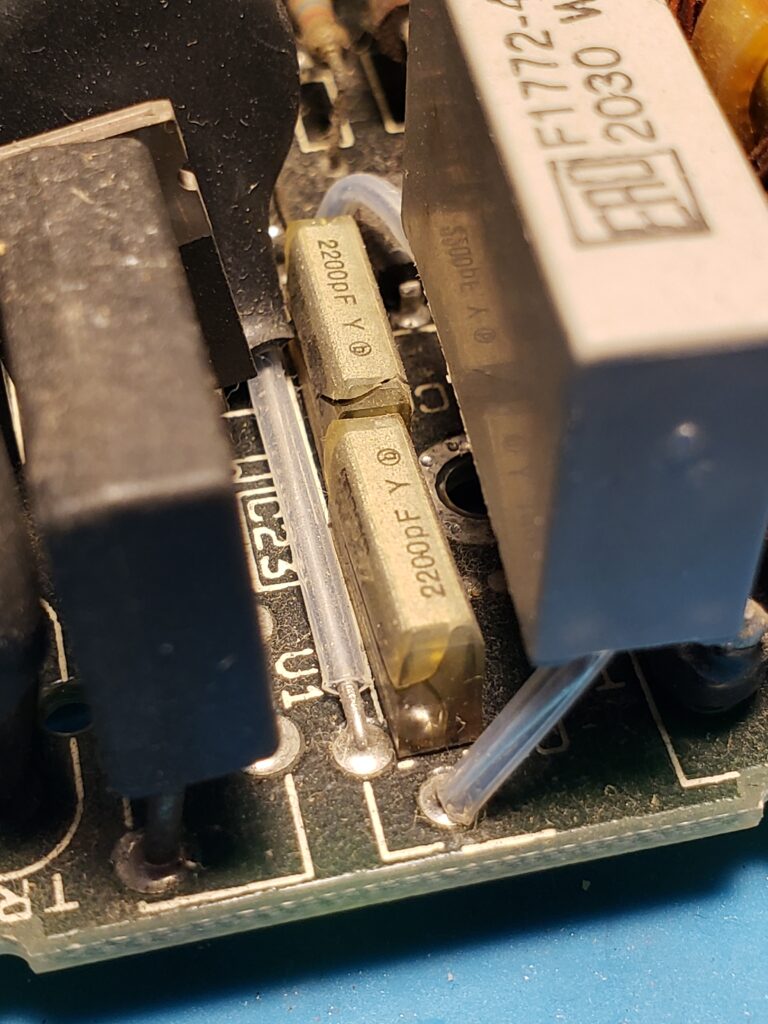
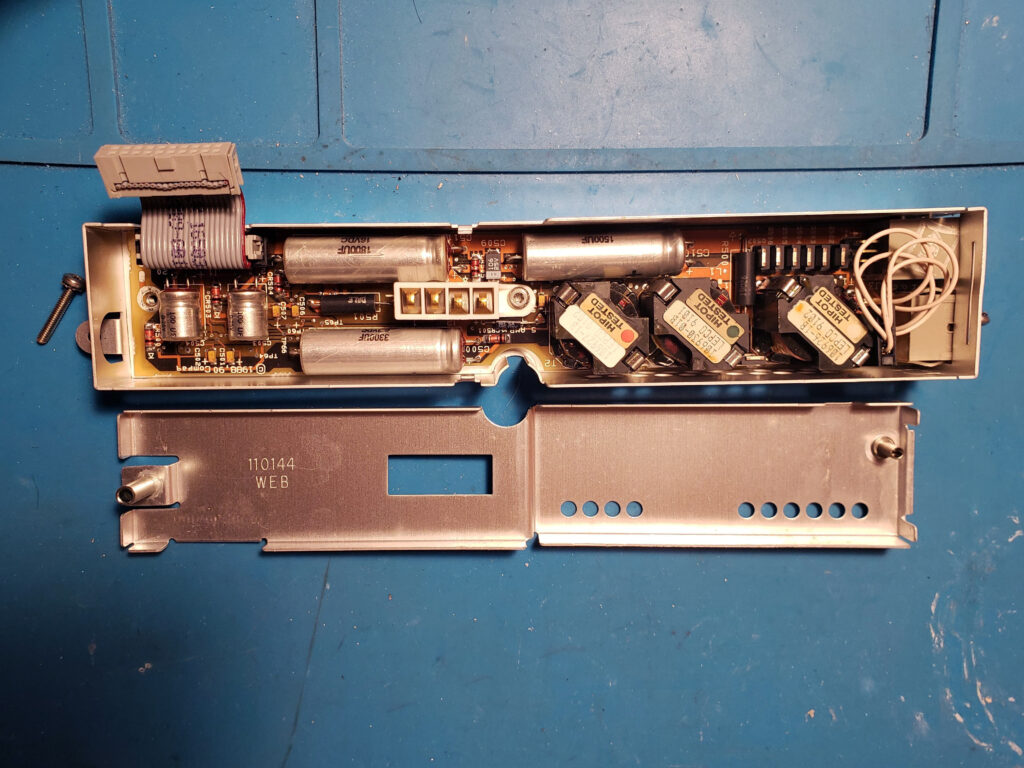
The power supply had some bulging and cracked RIFA caps. I replaced those, but it did not resolve the issue and the power supply remains dead. I’m not sure if this supply is something I am going to fix, since I’m frankly terrified of the mains voltage side electronics. Besides, I found a “safer” way to power this…
Here are photos from the inside of the PSU:


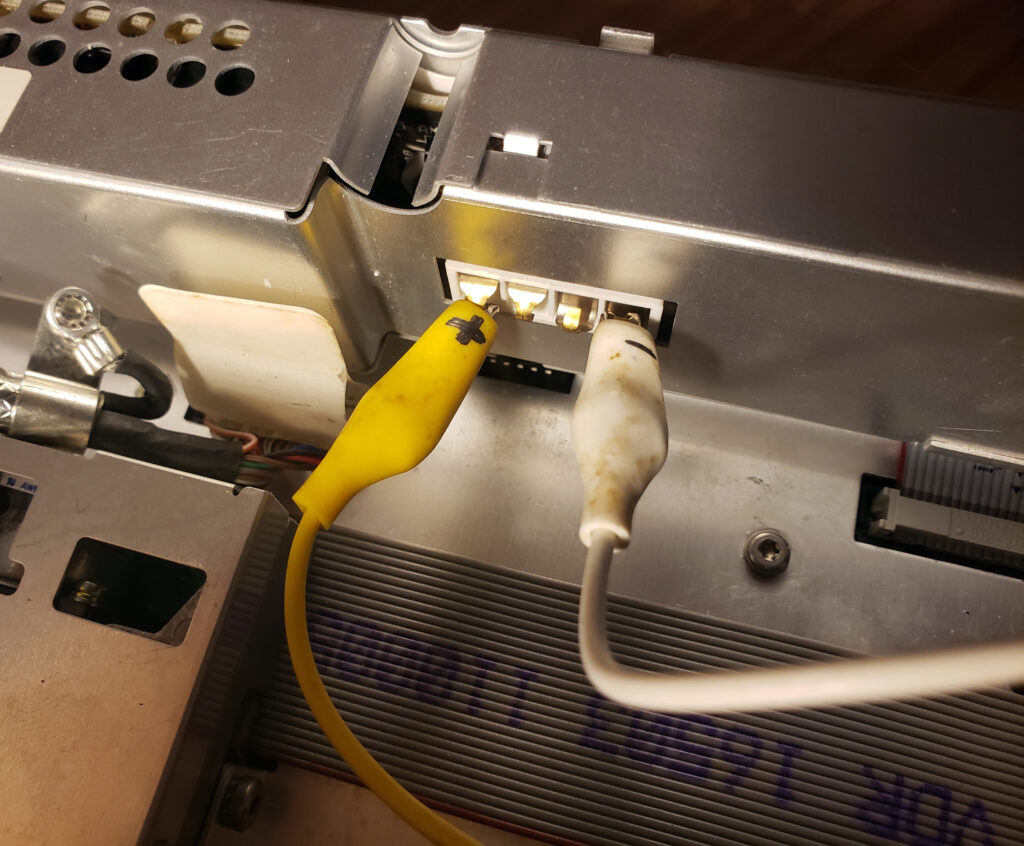
12v to the battery terminals instead!
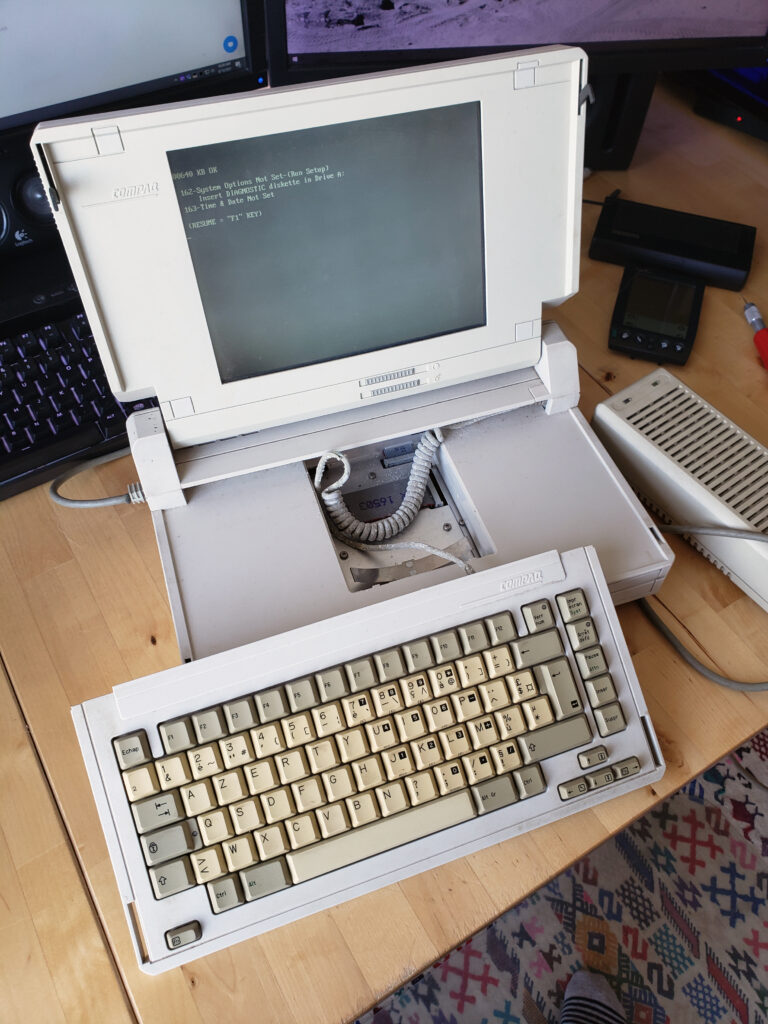
Instead, I found somewhere online that you can power these using the battery terminals. My portable didn’t come with a battery or even a cover, it just has the open space. I for testing, I just connected the 12v line from an old PC power supply, to the SLT as shown below:
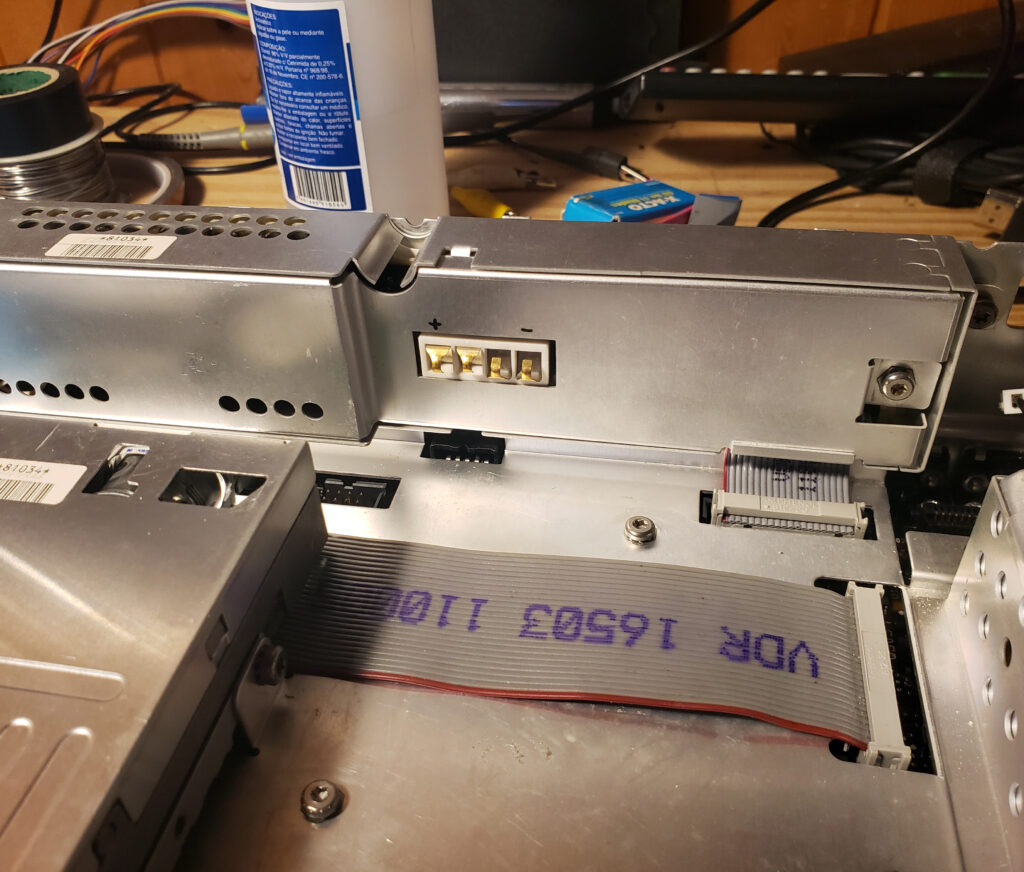
This brought it back to life, but it was apparent that the system clock battery was long past expired, which made using the system a pain. Every time you started the machine from cold, you had to first boot from the diag disk and set the time. Also, the entire thing was pretty crusty and needed a cleaning, so time to take it apart!
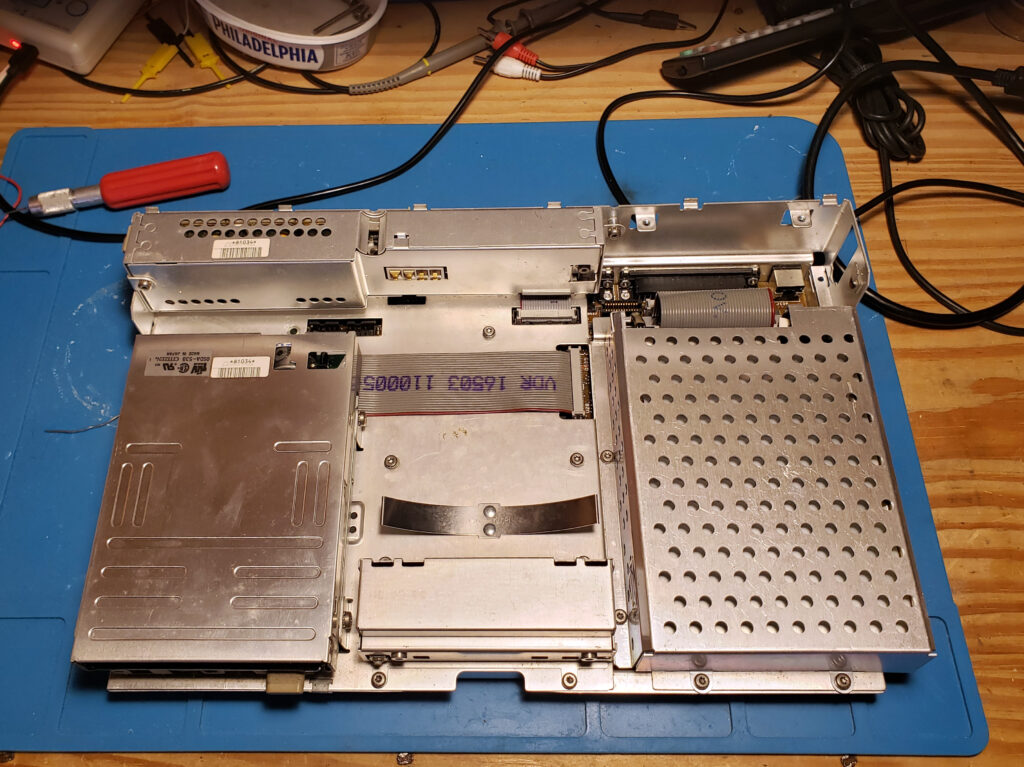
Getting under the hood
This is what the laptop looks like under the plastic. All the electronics are enveloped in a full metal frame. It is a beast. The floppy drive is on the left and the hard drive on the right. The battery would go in the middle section between them.
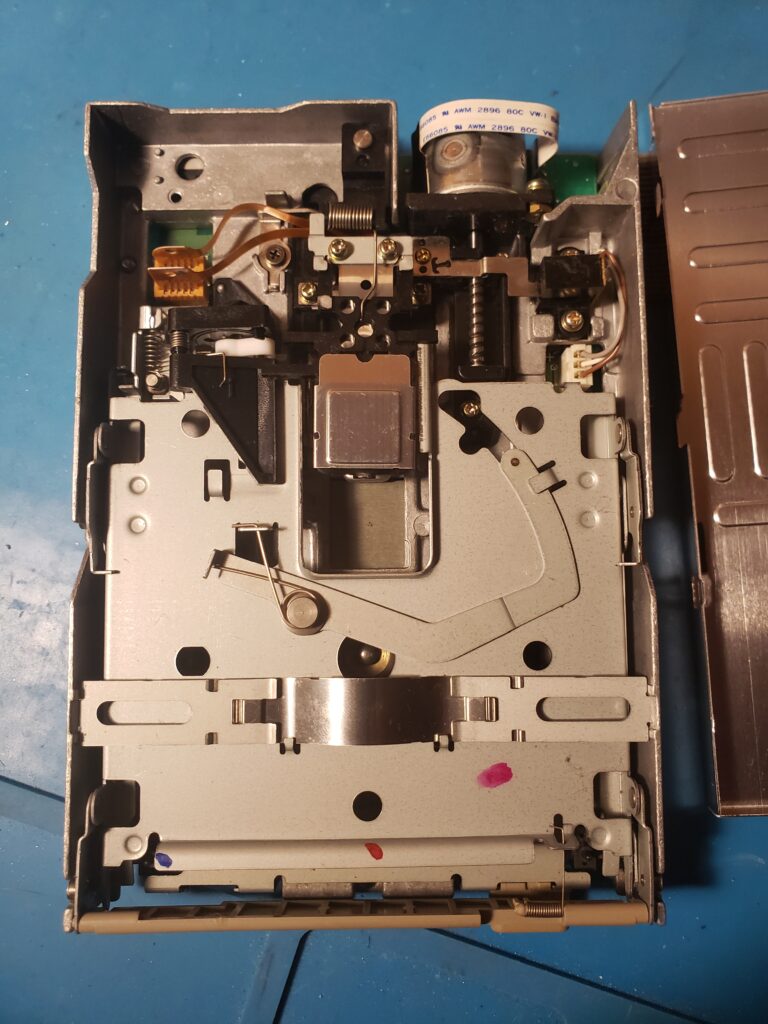
Here are some images of the floppy and hard drive. The hard drive is a Conner CP30121E rocking 120MB of drive space. It comes completely shielded and enveloped in a metal frame. I guess because of all of this over engineering, the Conner is working perfectly. It has an unusual power connector to connect to the laptop, but the other end has the usual Molex connector, and the IDE connector is standard. I have connected the hard drive to other systems of this era, and it works fine on all of them. I usually set the hard drive to type 50 in the CMOS settings.


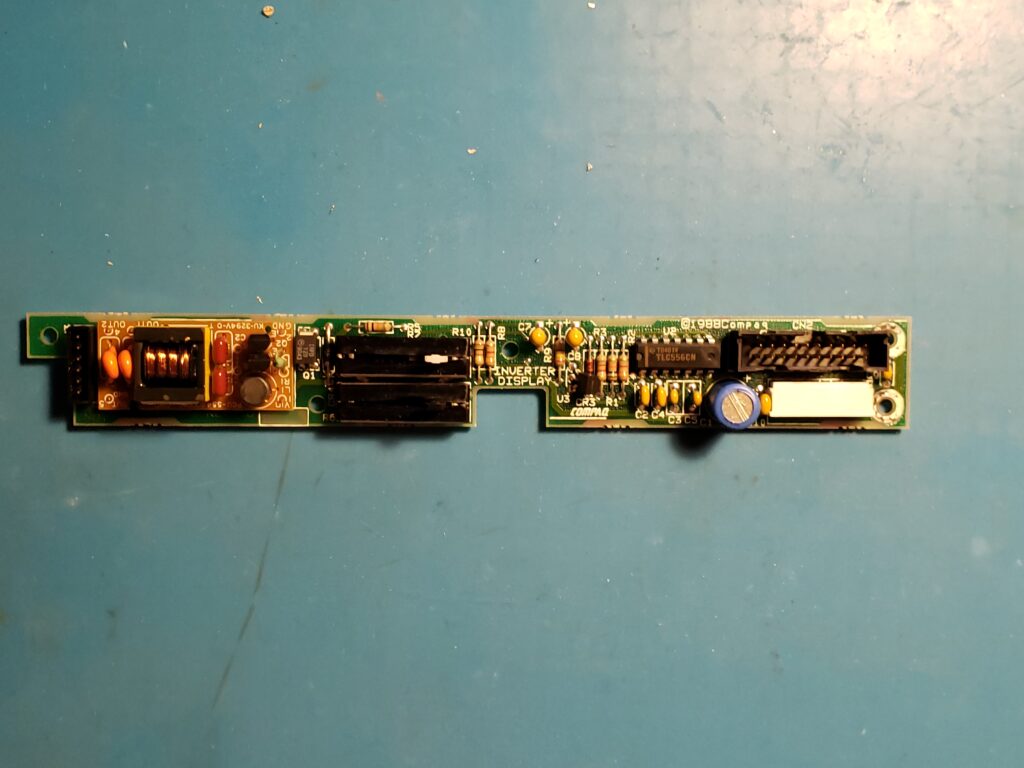
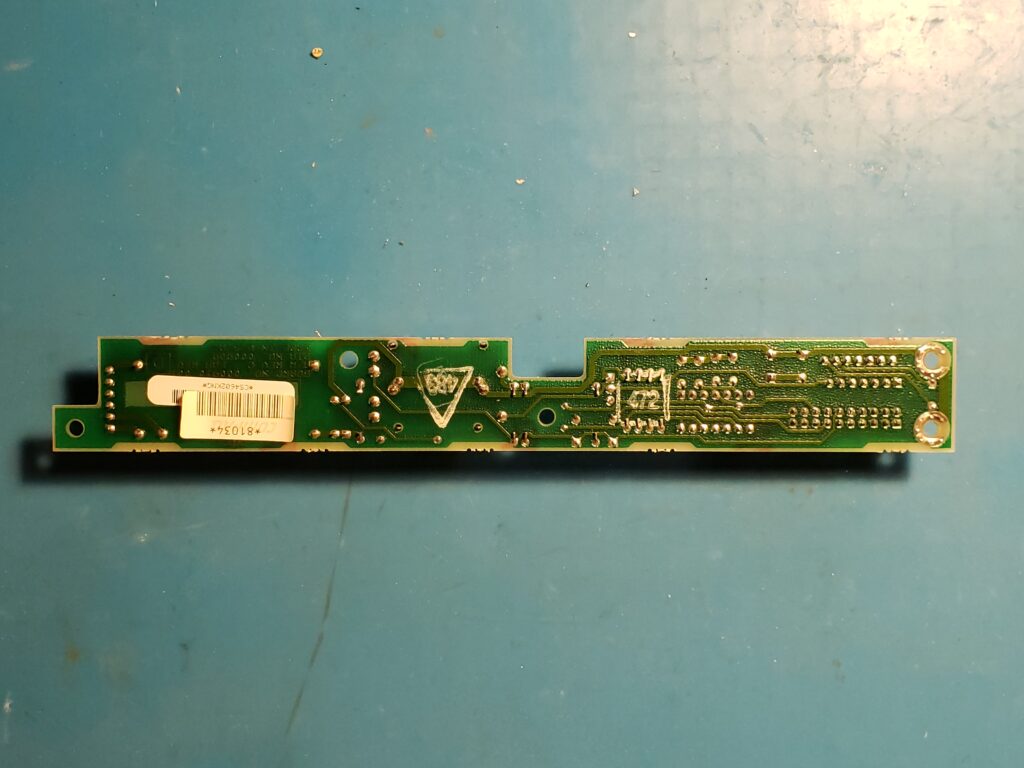
The SLT/286 also has an internal PSU that I believe is responsible for powering from, and charging the battery, and may also feed the LCD panel.
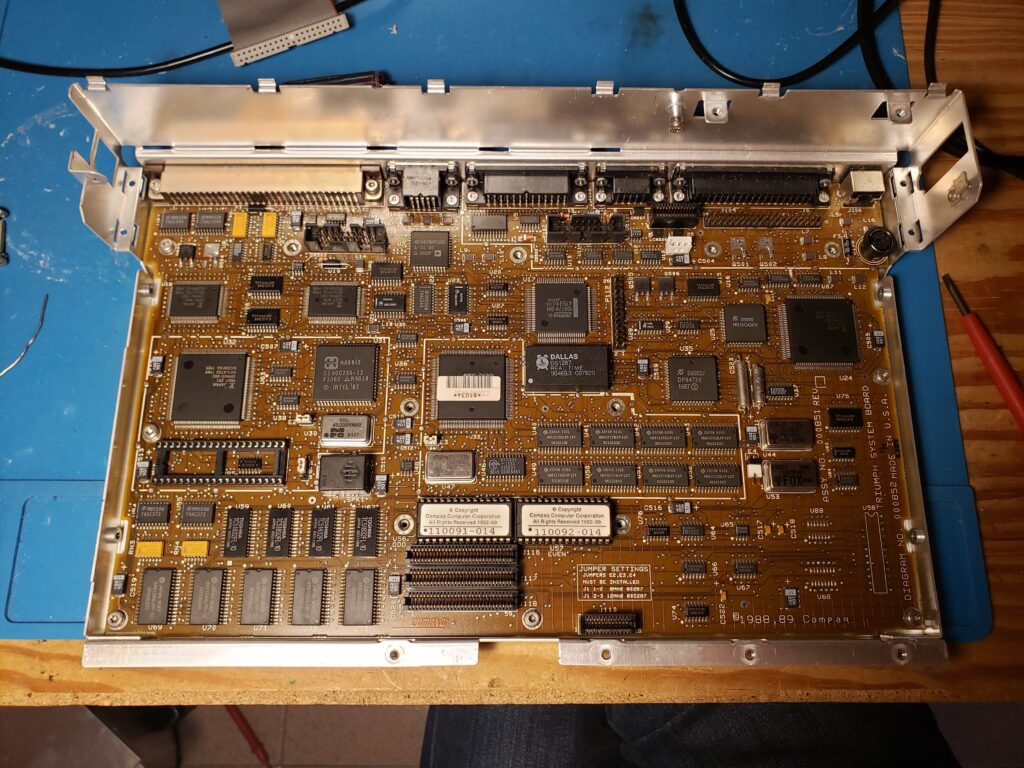
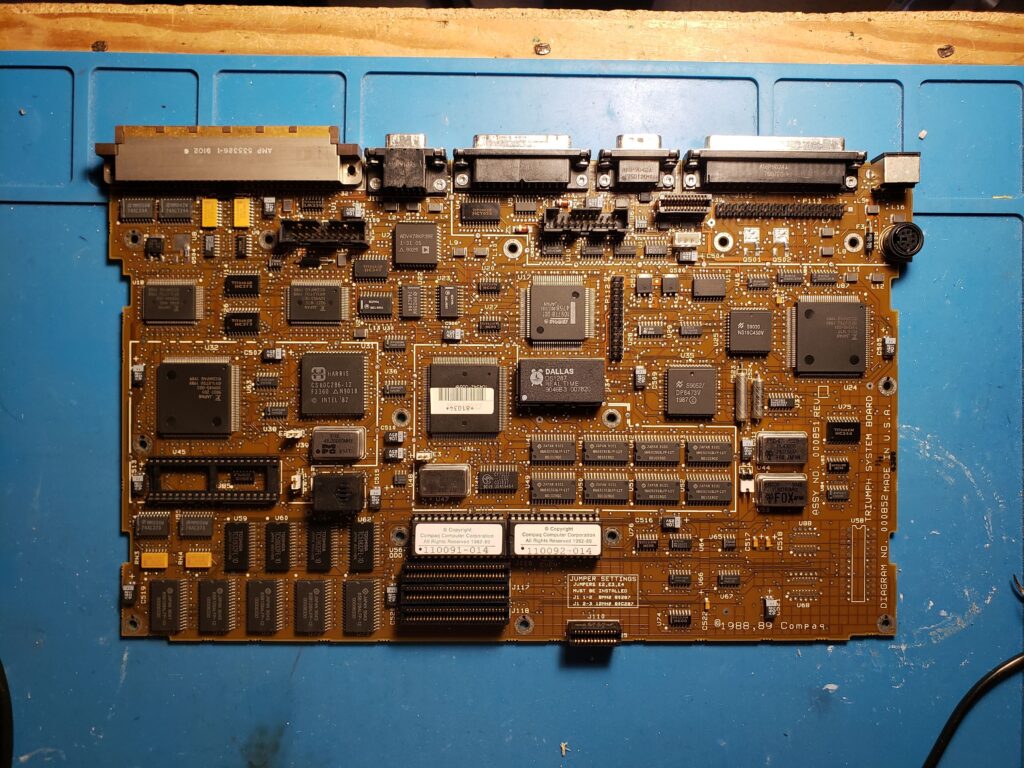
Once you have uncovered all of that metal (so many screws. all different sizes.) a very nice looking motherboard is revealed. The board is using a Harris CS80C286-12, 12Mhz processor. There are two BIOS chips, as was common in 286 computers of this era. And there is an open socket for a 287 coprocessor.
Real Time Clock RTC Fix
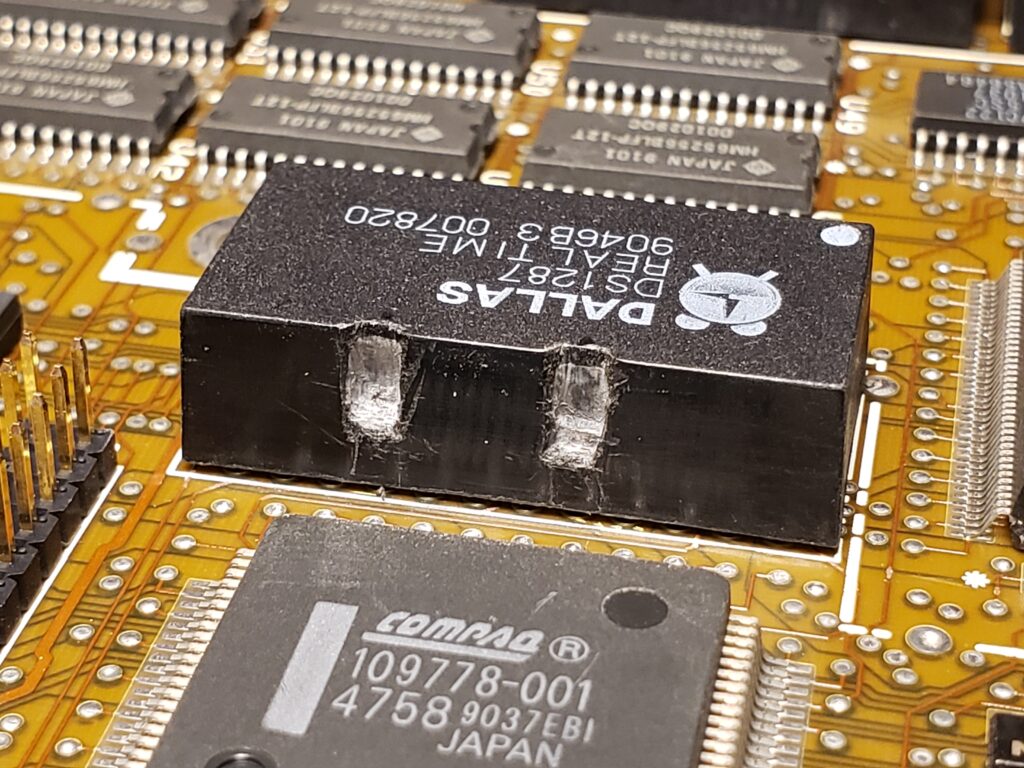
The batteries feeding the real time clocks on these boards, ran out decades ago. On the good side, the motherboards use Dallas DS1287s, where the battery and circuitry are potted, so there’s no leakage from a bad battery. On the negative side, they don’t make them anymore, the NOS ones all also have dead batteries by now, and they can be a pain to remove from the motherboard.
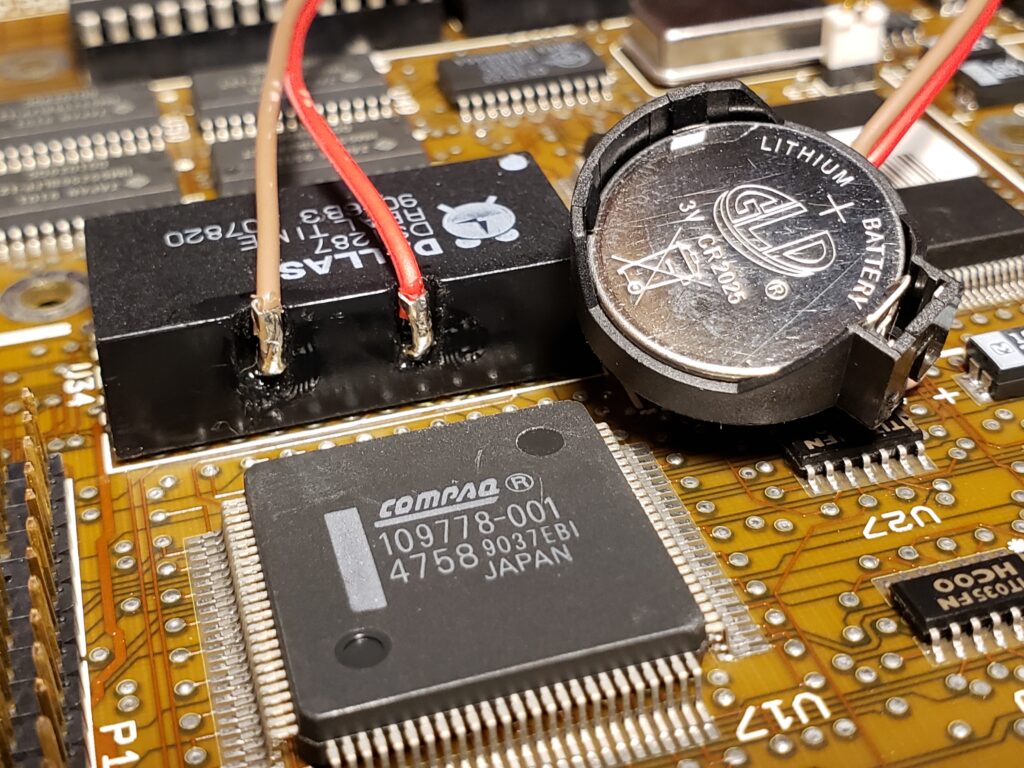
One of the possible fixes for the dead battery involves scraping away pins 16 and 20 on the chip and soldering an external battery. This is the way I went. Here’s some more info: http://www.mcamafia.de/mcapage0/dsrework.htm
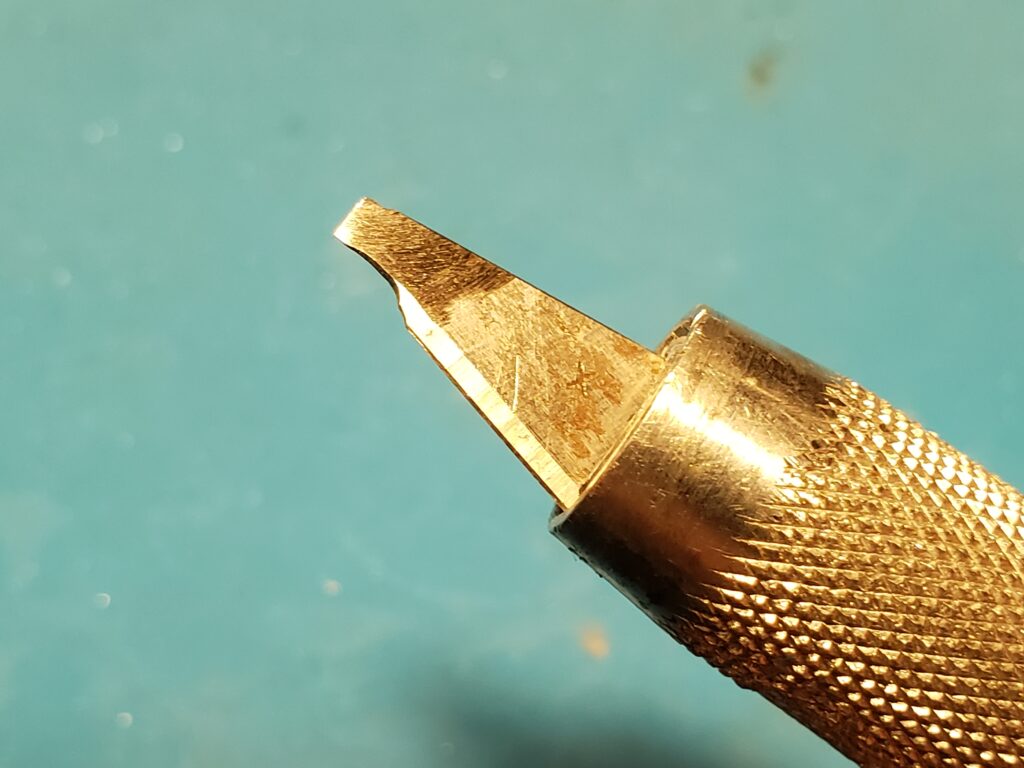
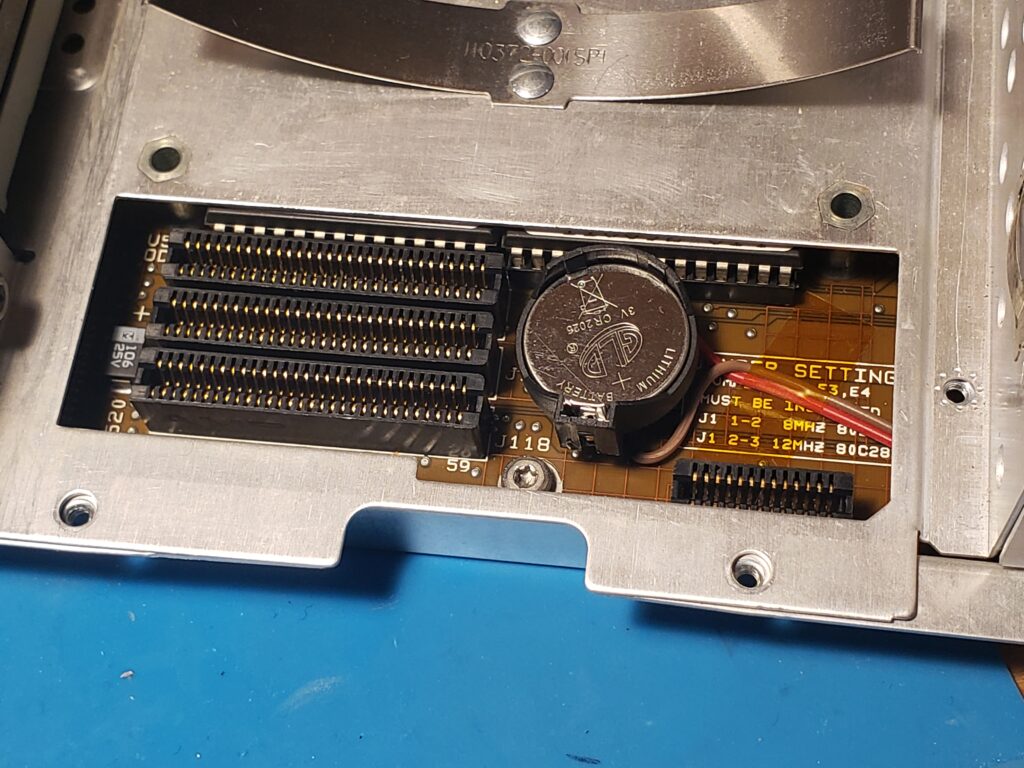
I used an exacto blade with the tip broken off and then sharpened down to use as a chisel. I put a sheet of metal from a project box to protect the motherboard while I scraped away. Then I tucked the battery and holder in the memory expansion slot. It is very unlikely I’m going to buy a memory upgrade for this laptop, so the battery can live there instead.
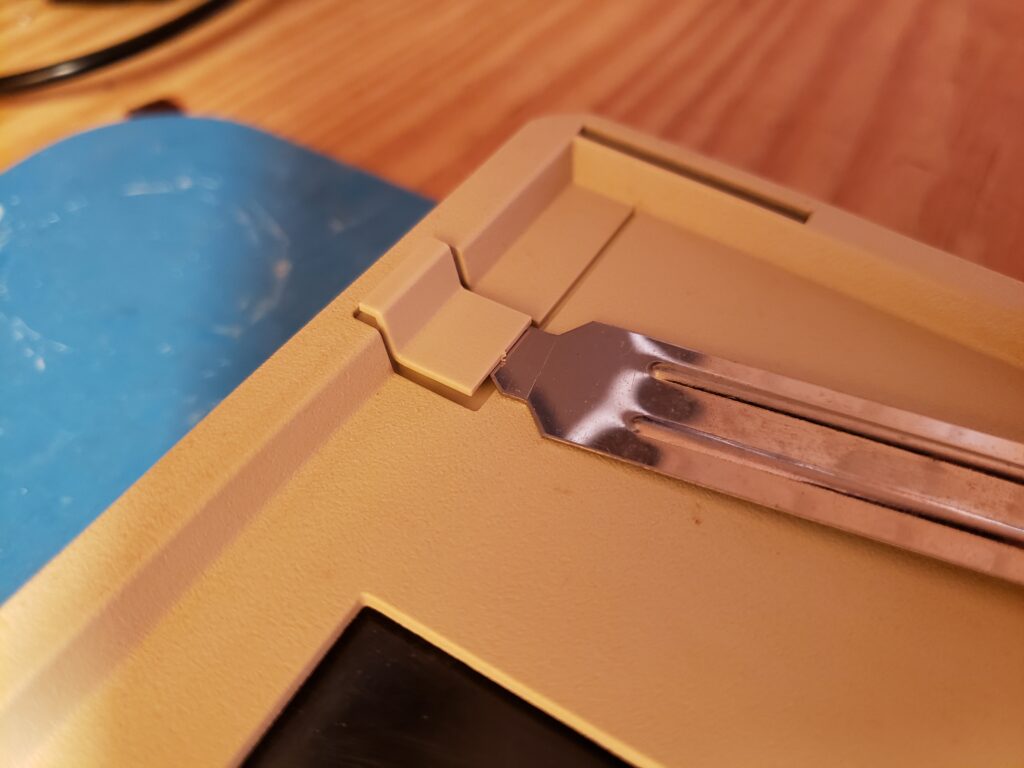
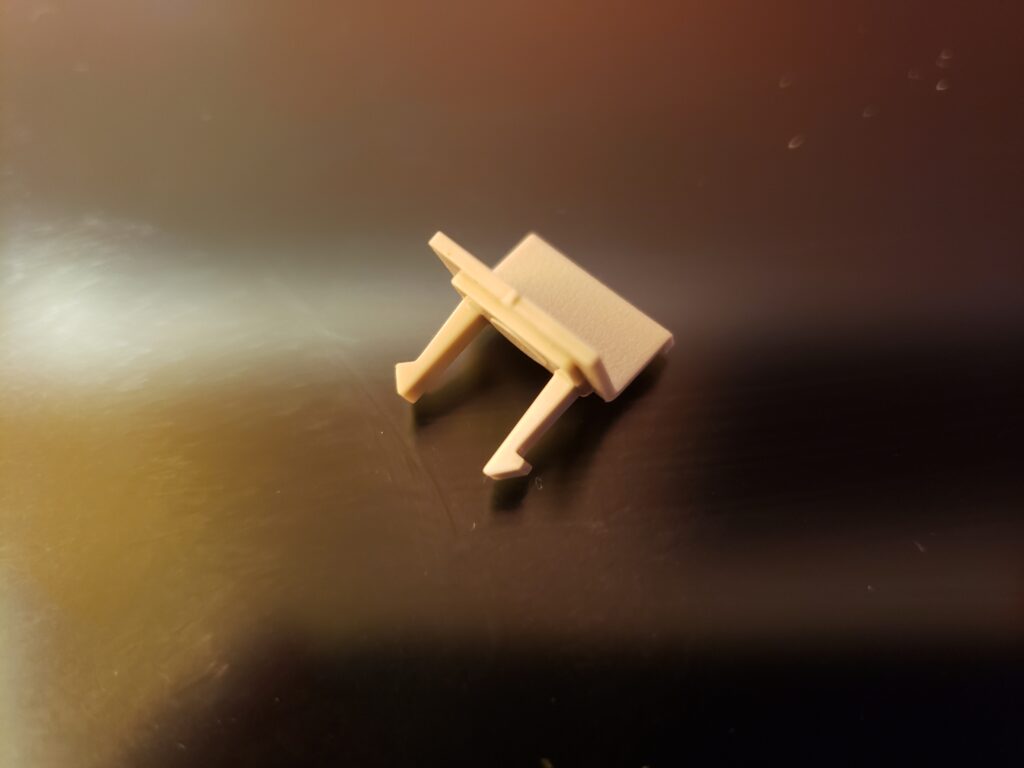
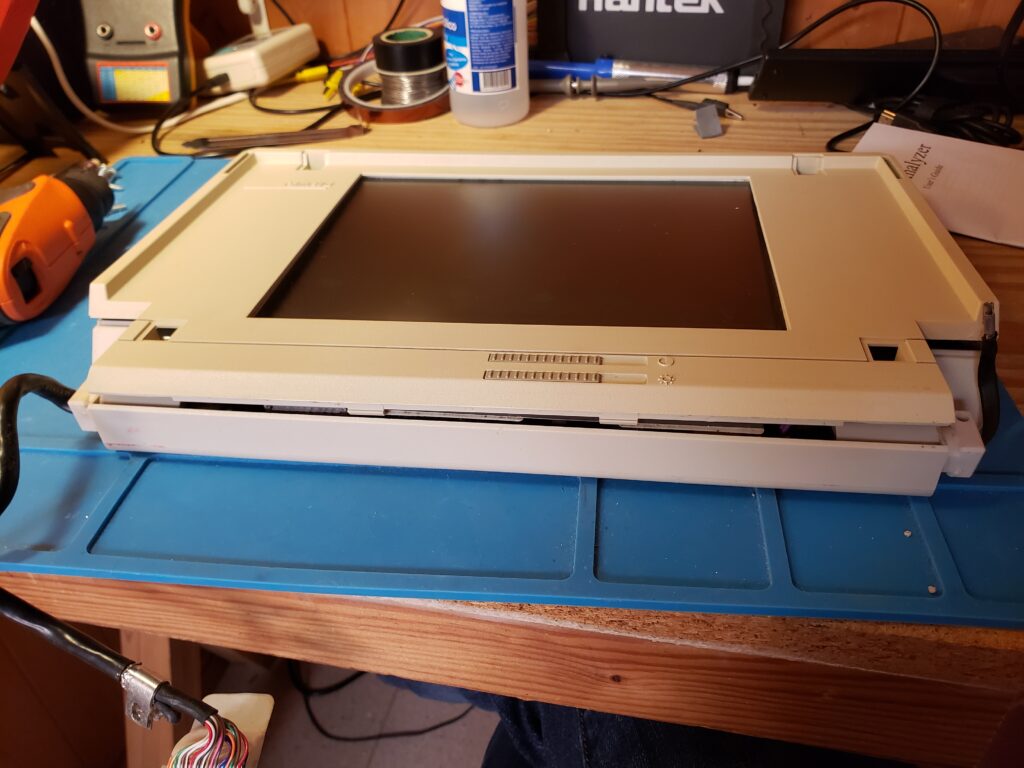
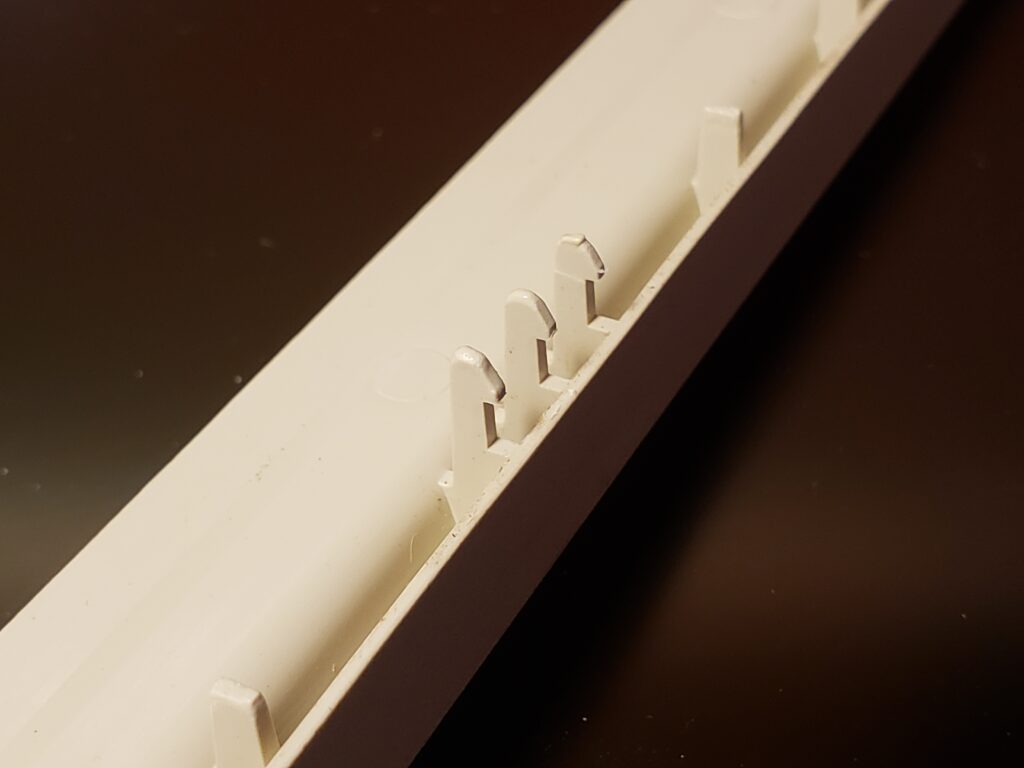
The LCD Screen
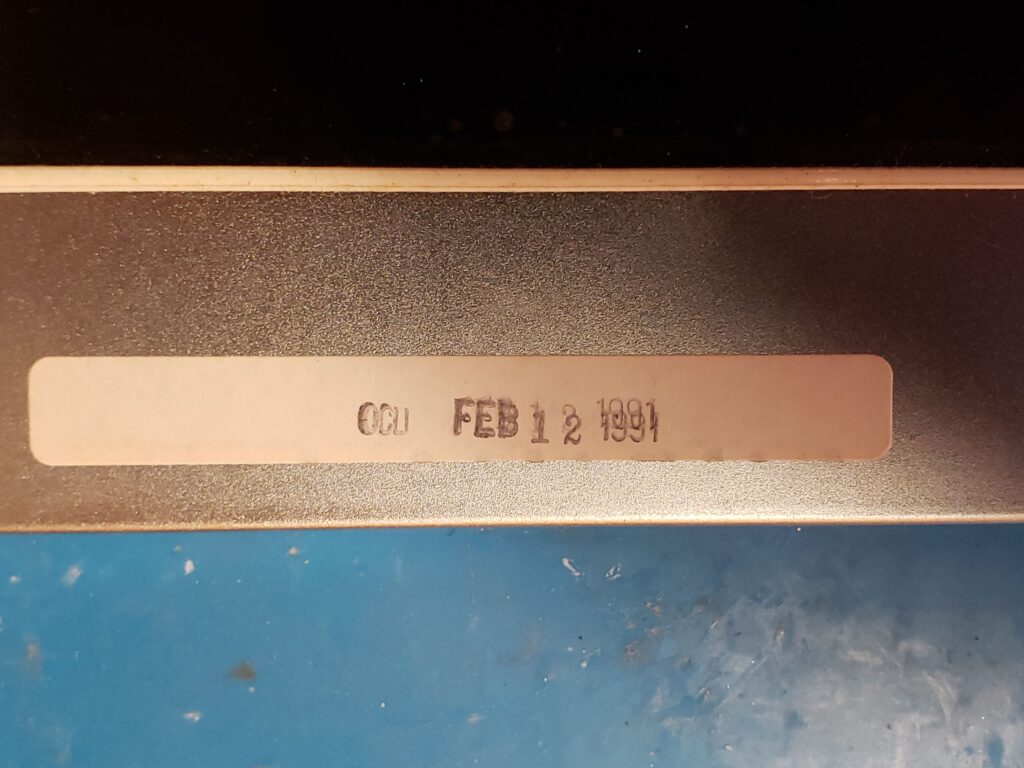
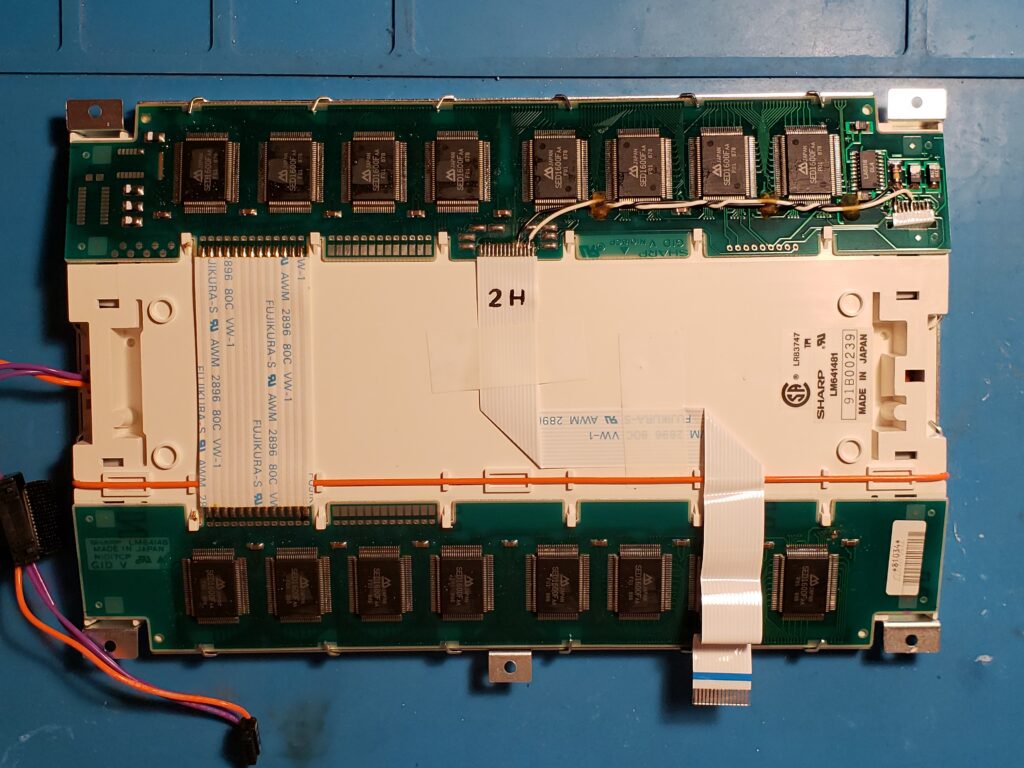
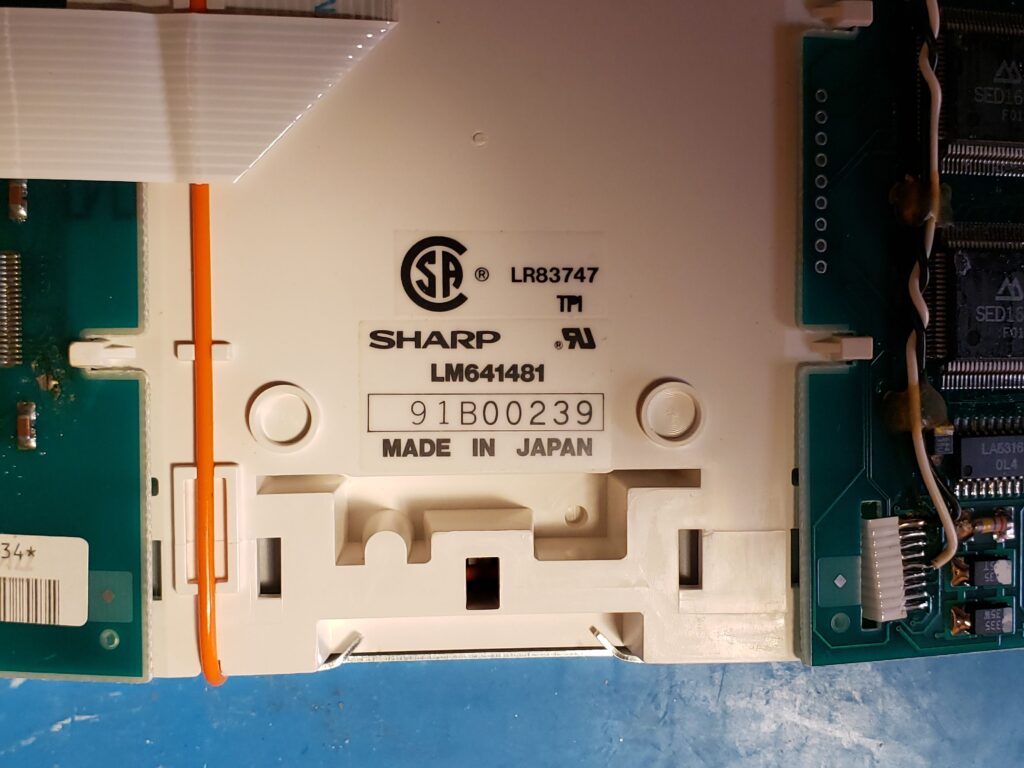
I also took the screen apart so I could get behind the outer screen protective plastic to clean the panel. The LCD is a Sharp unit model LM641841, and has a sticker with a date stamp of Feb 12 1991.
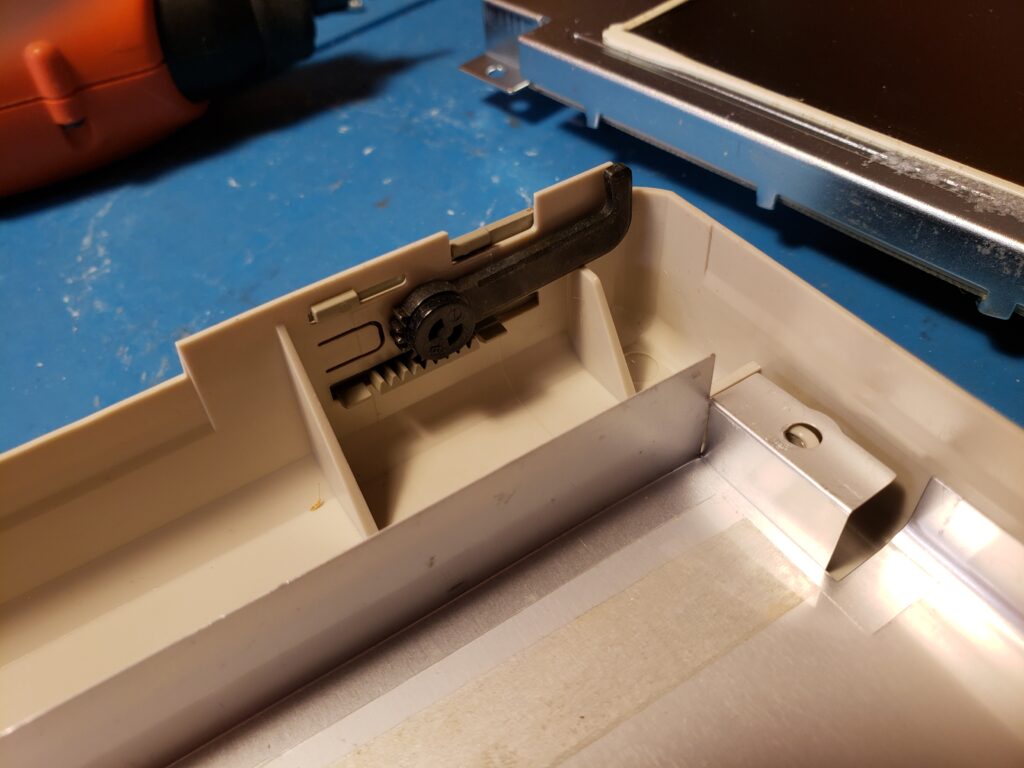
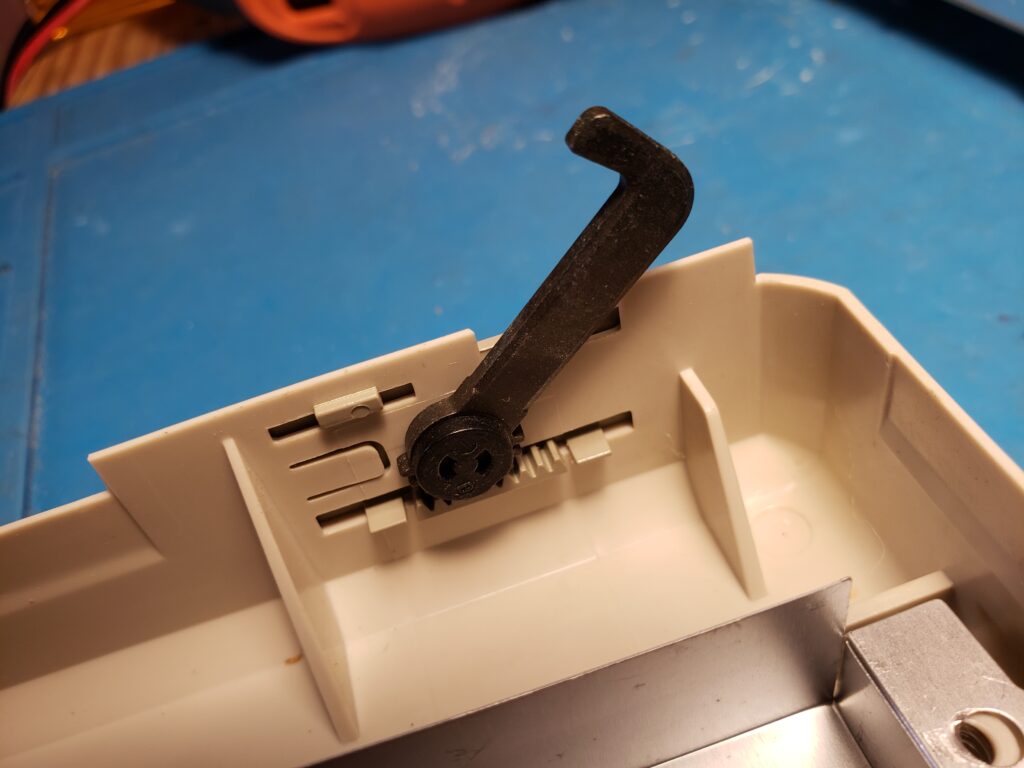


The Keyboard
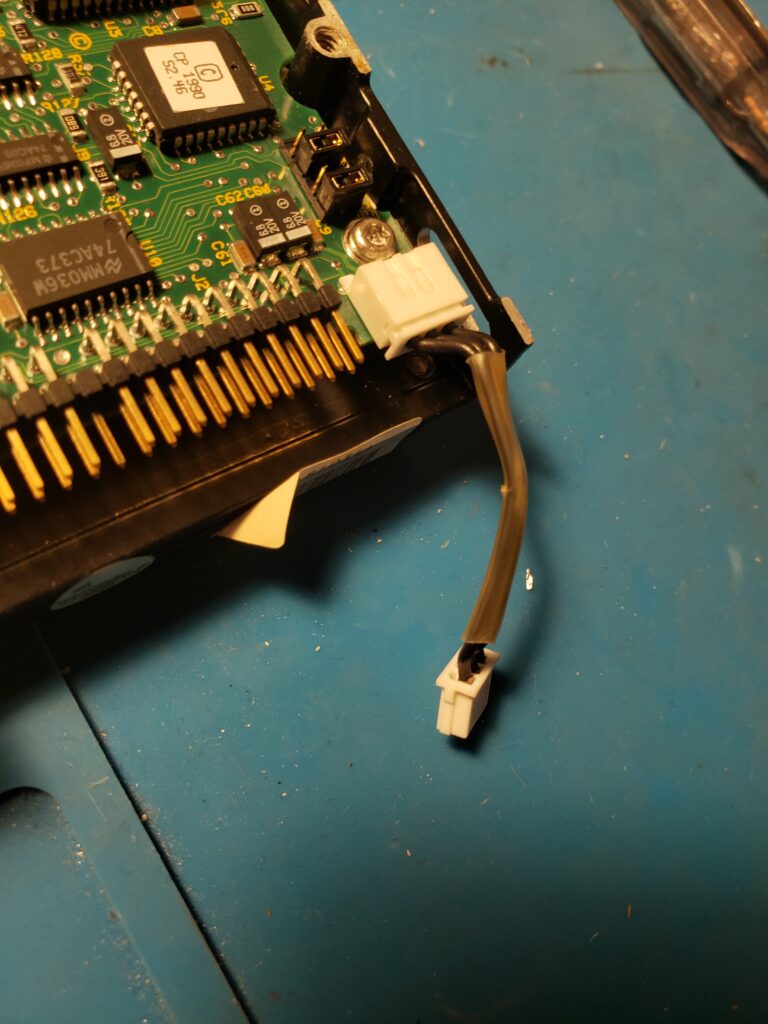
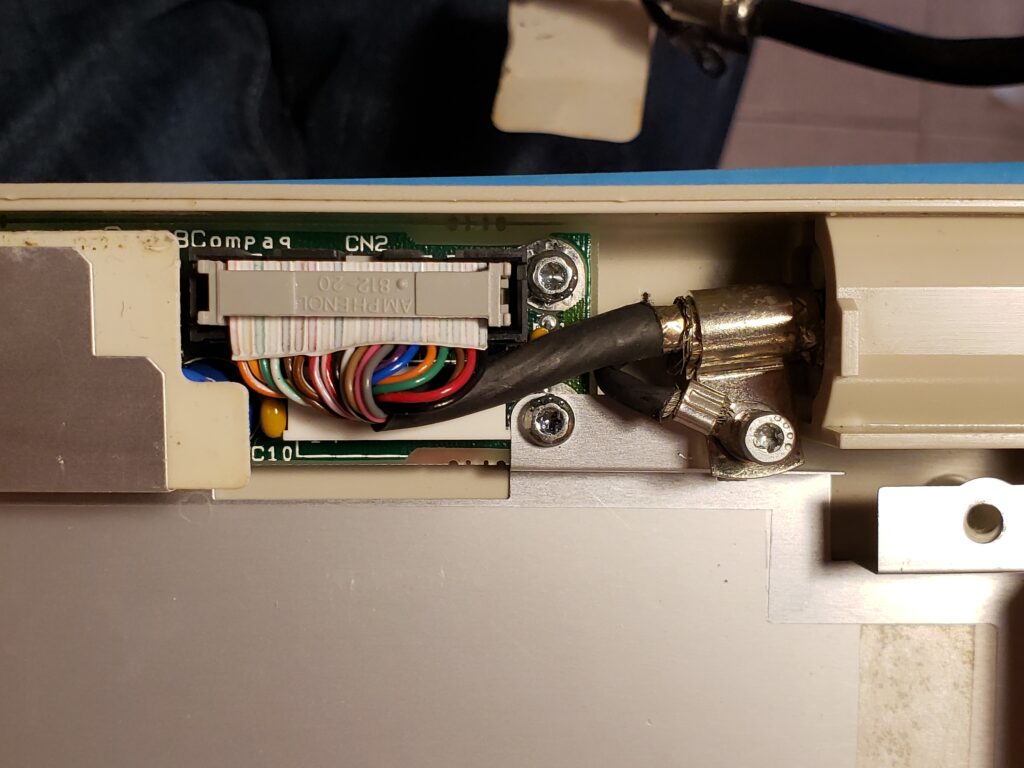
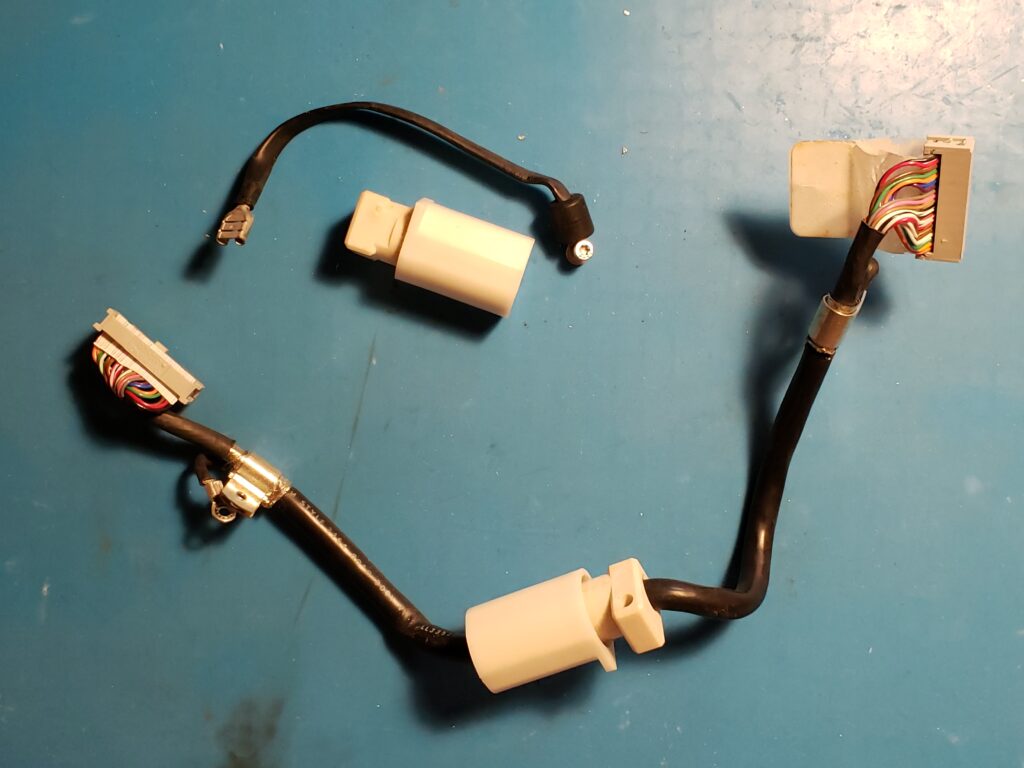
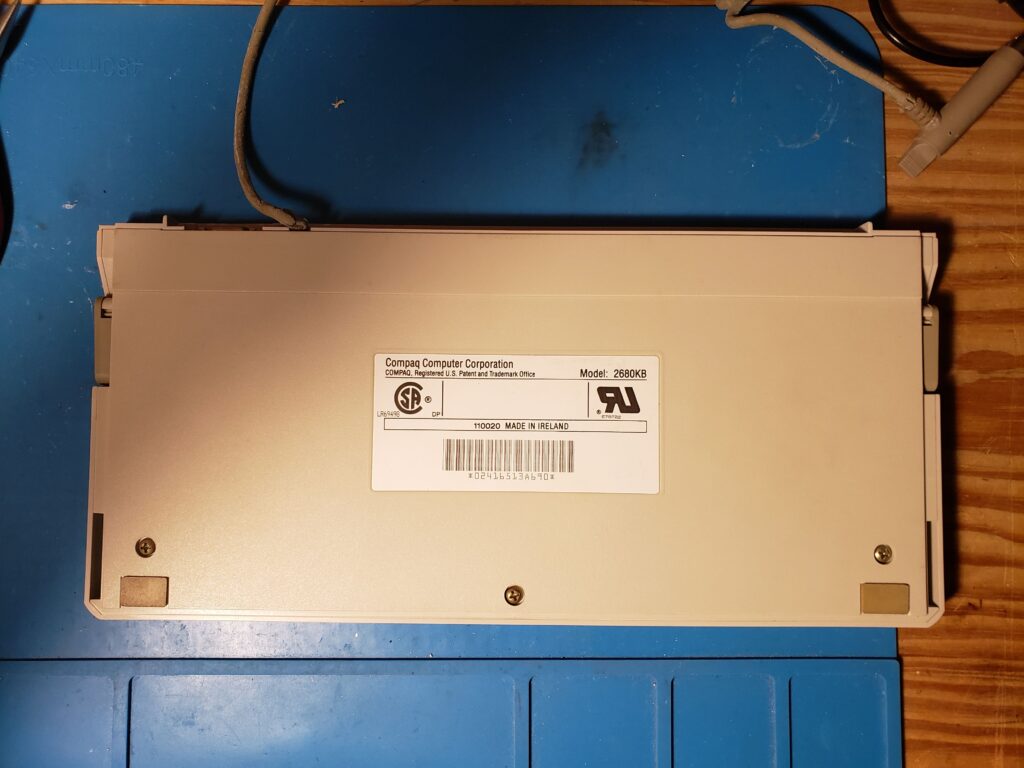
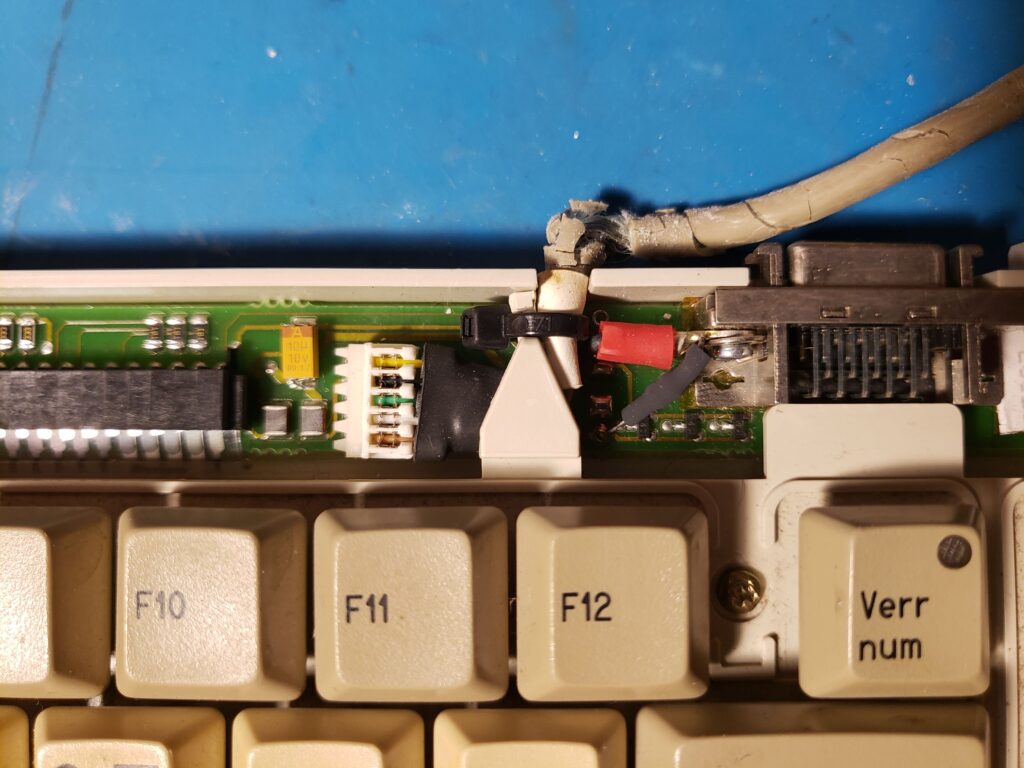
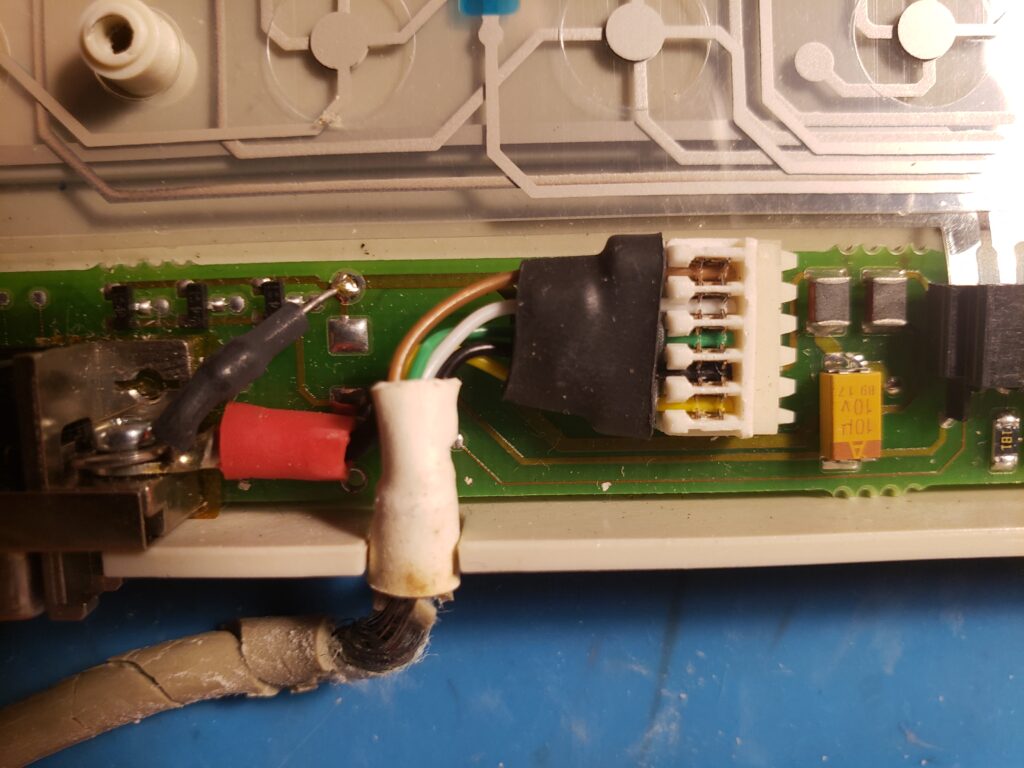
The keyboard (a model 2680KB) was gross, as anyone would expect on a keyboard of this age. The unfortunate part is that the plastic covering on the coiled keyboard cable was nearly disintegrated and was leaving residue everywhere. I had to remove it from the laptop and pull off all of the remains of the insulation, so now it’s just shielding. Still works, just looks real ugly.
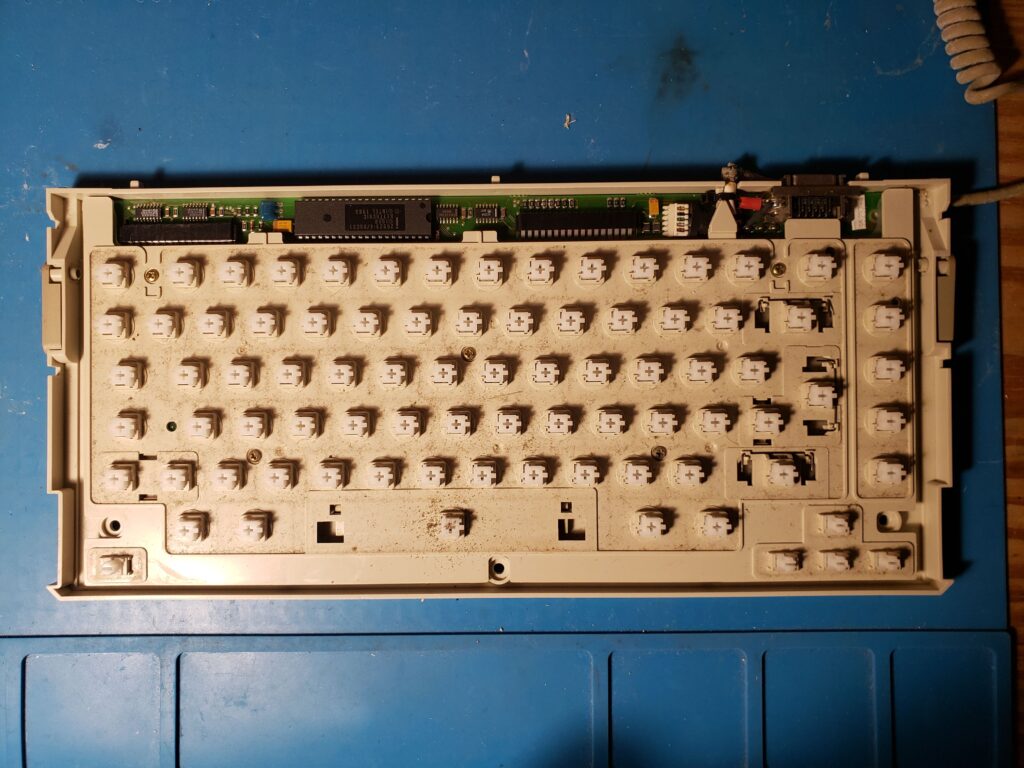
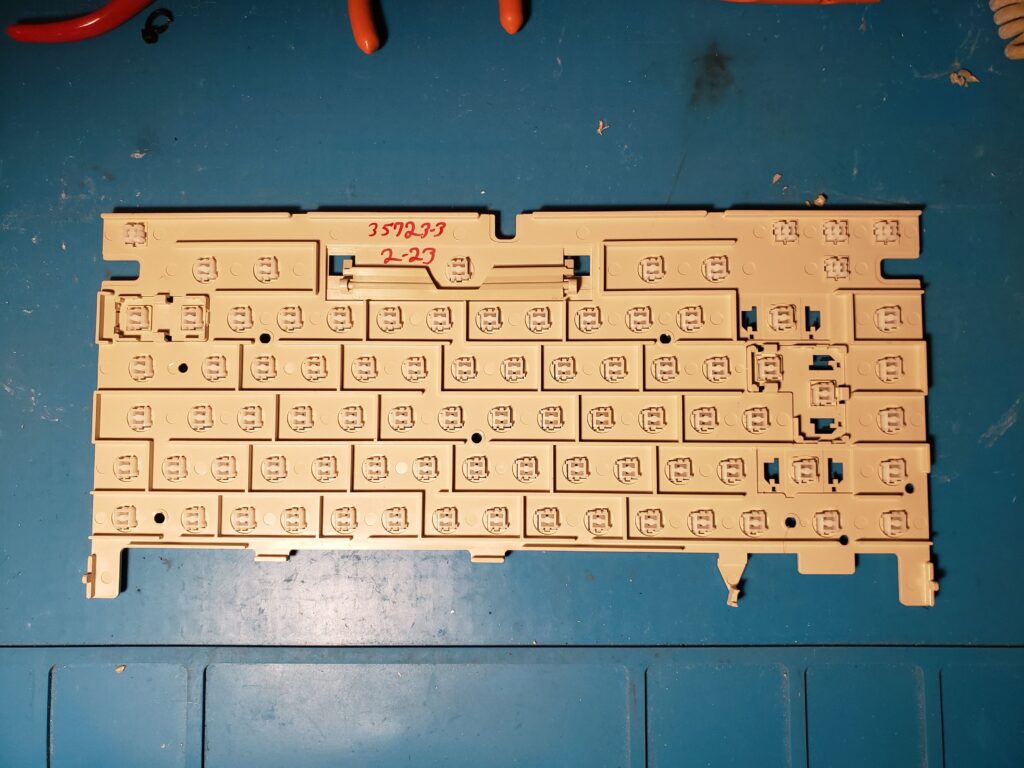
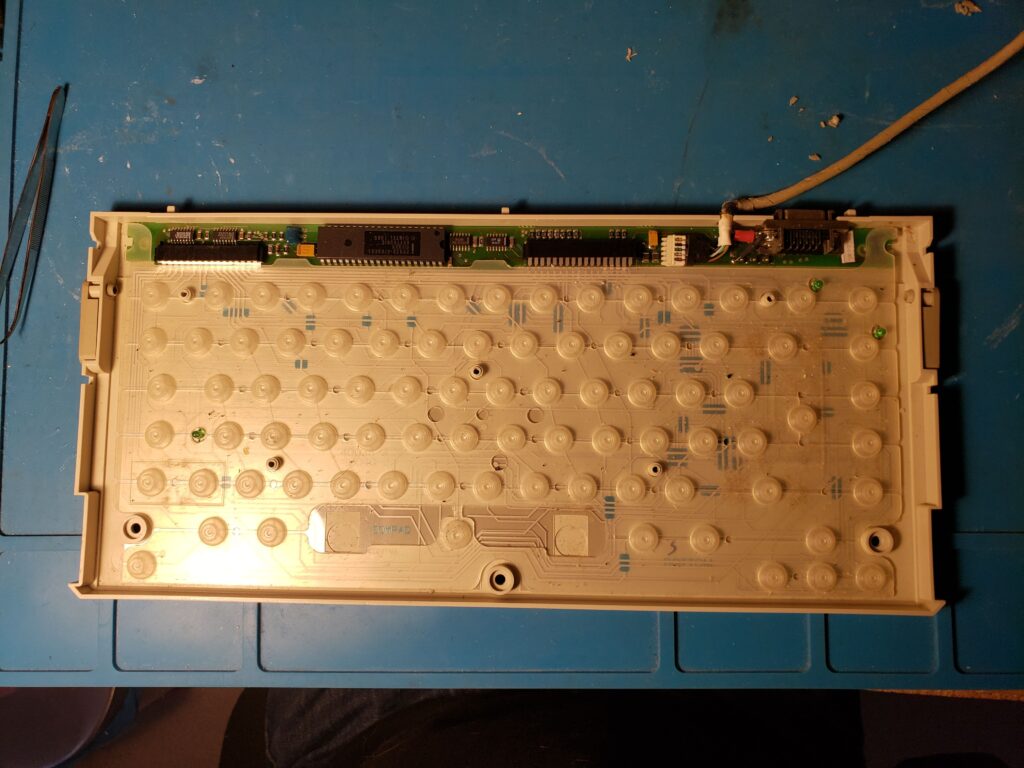
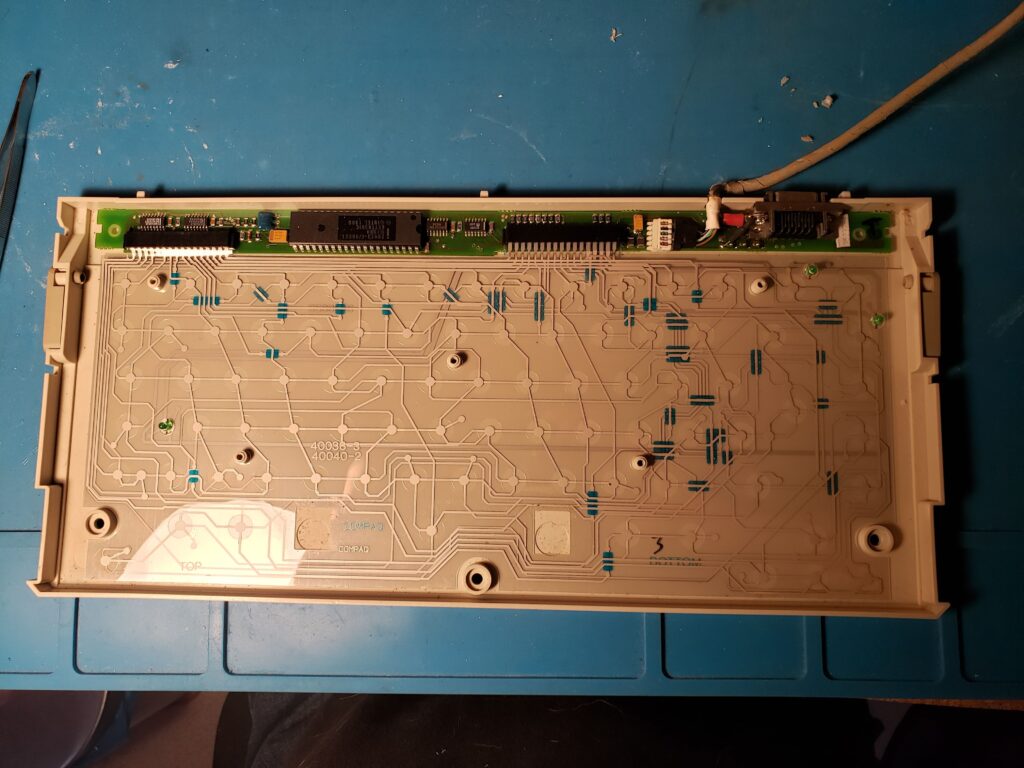
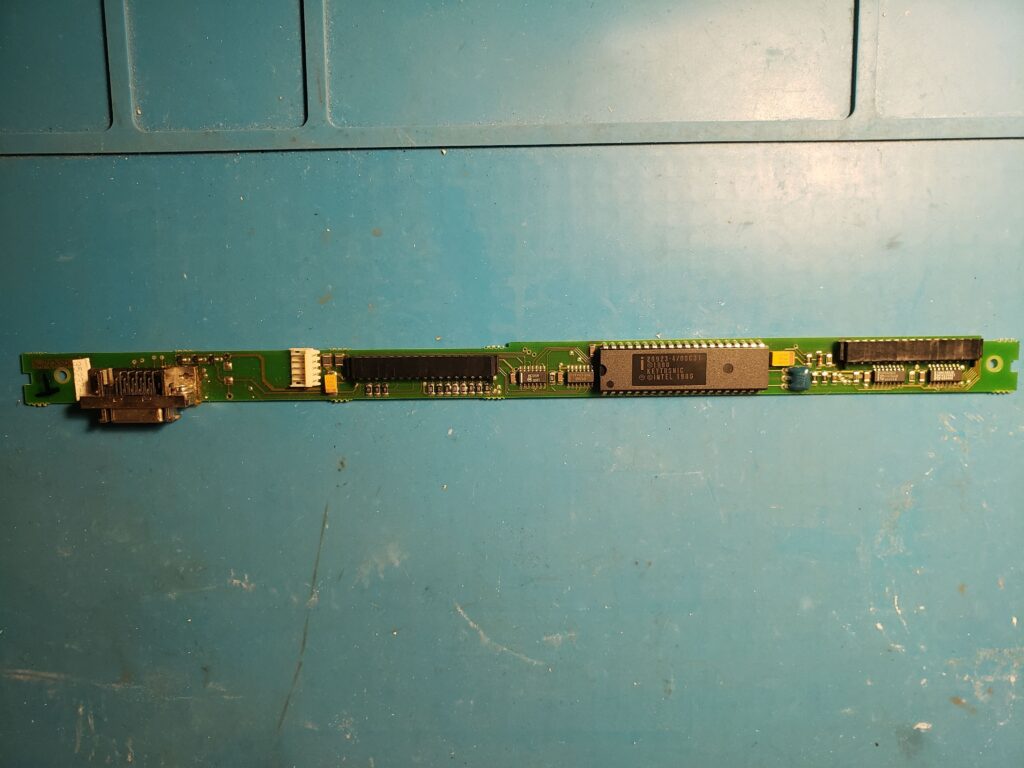
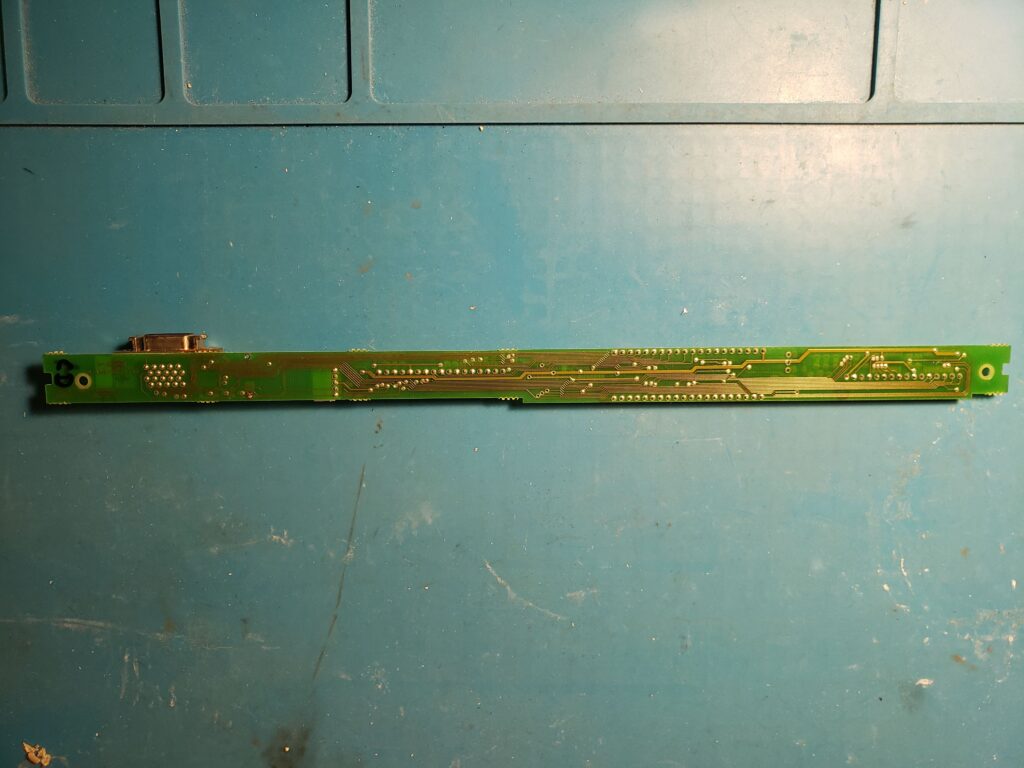
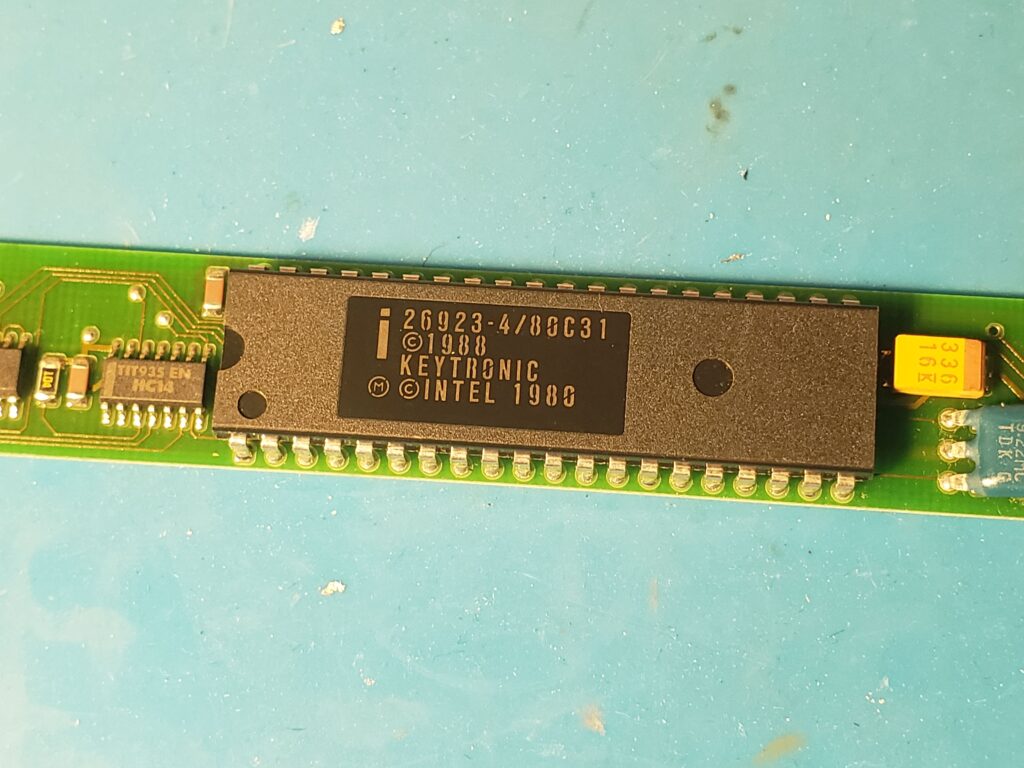
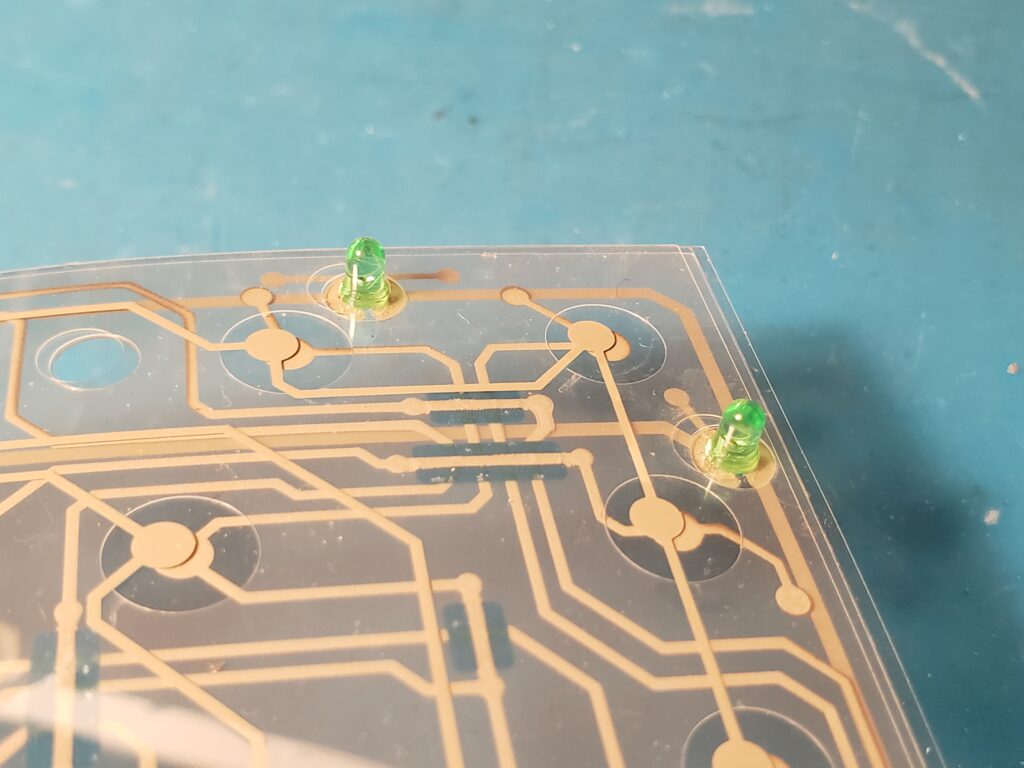
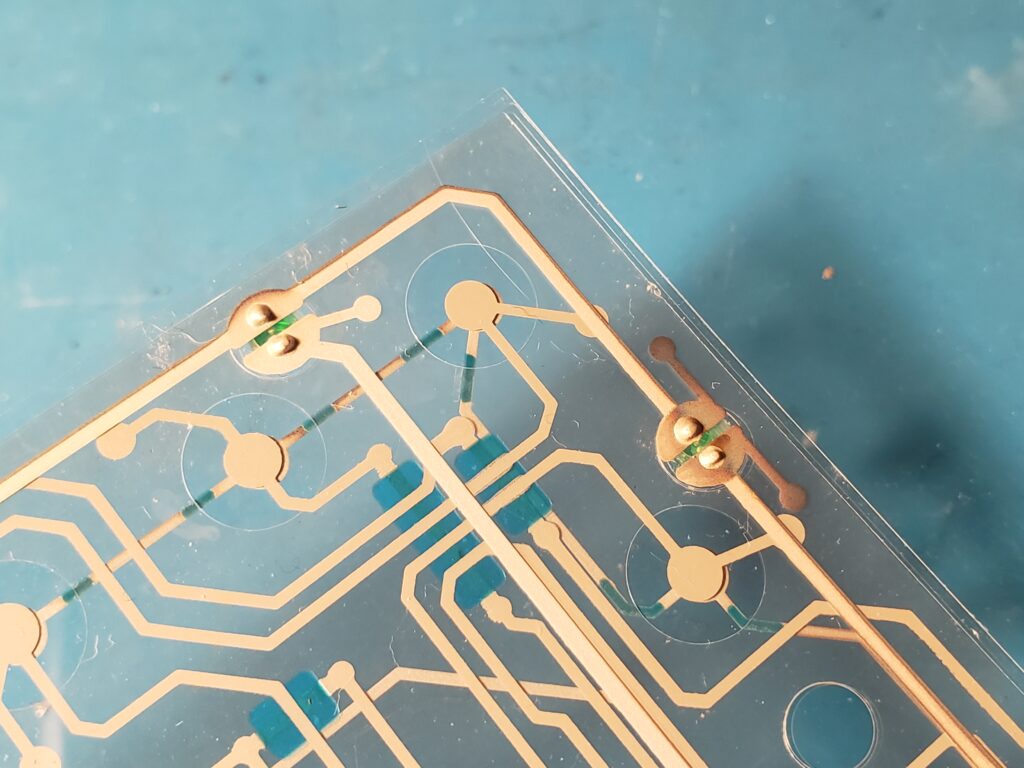
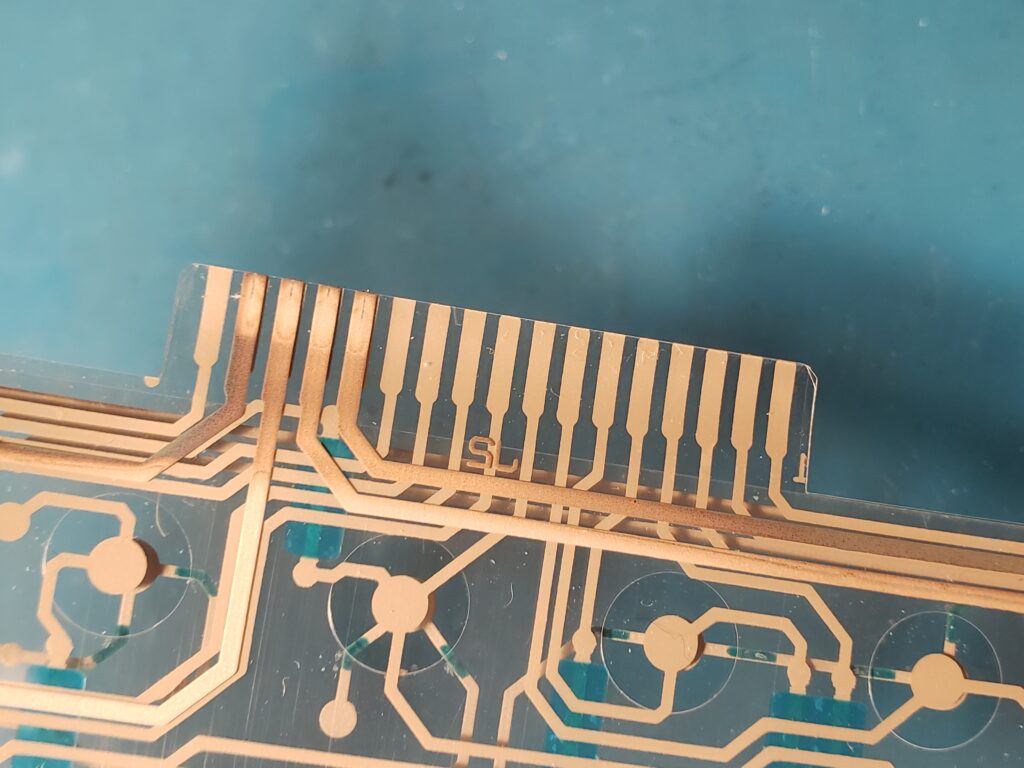
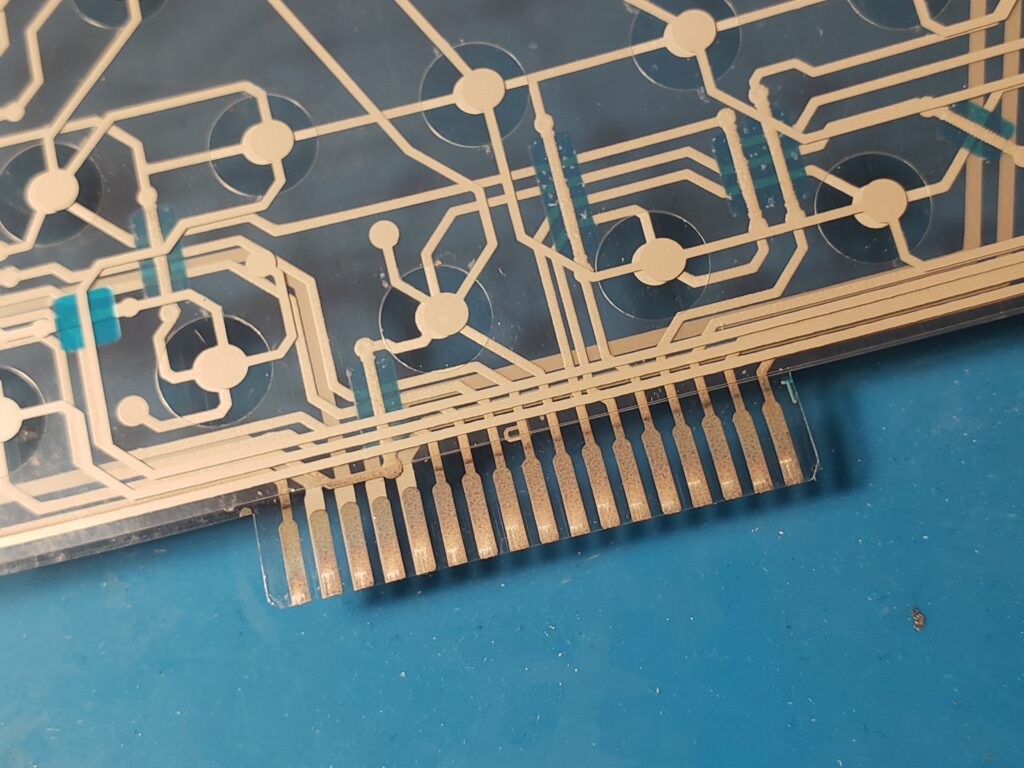
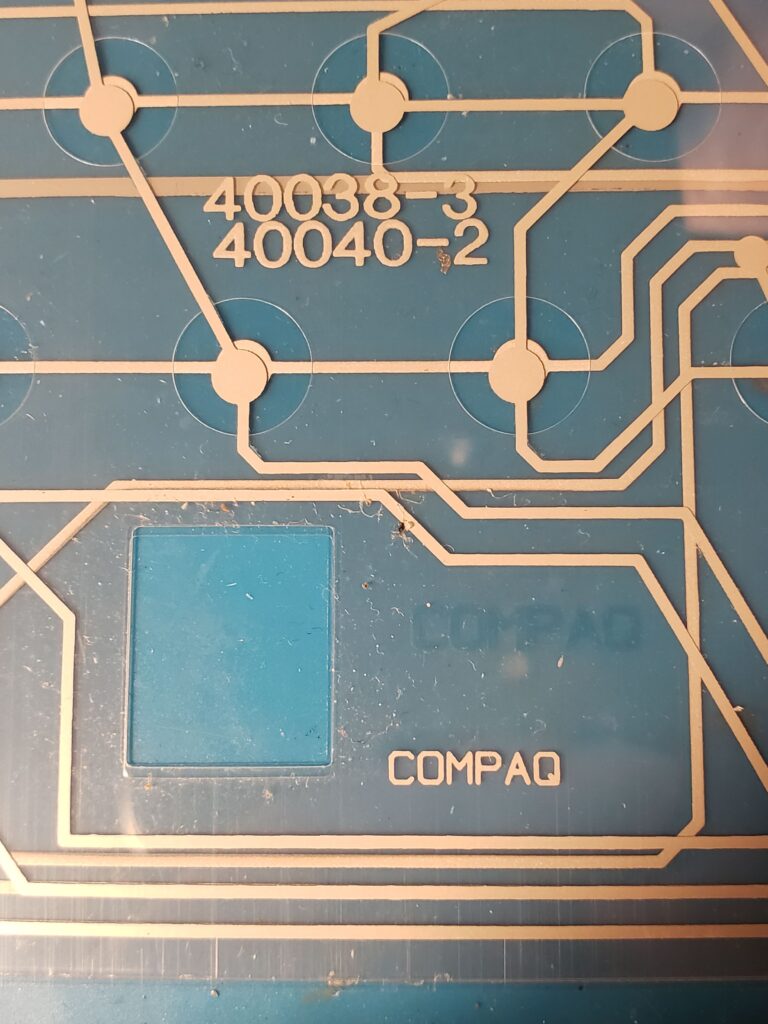
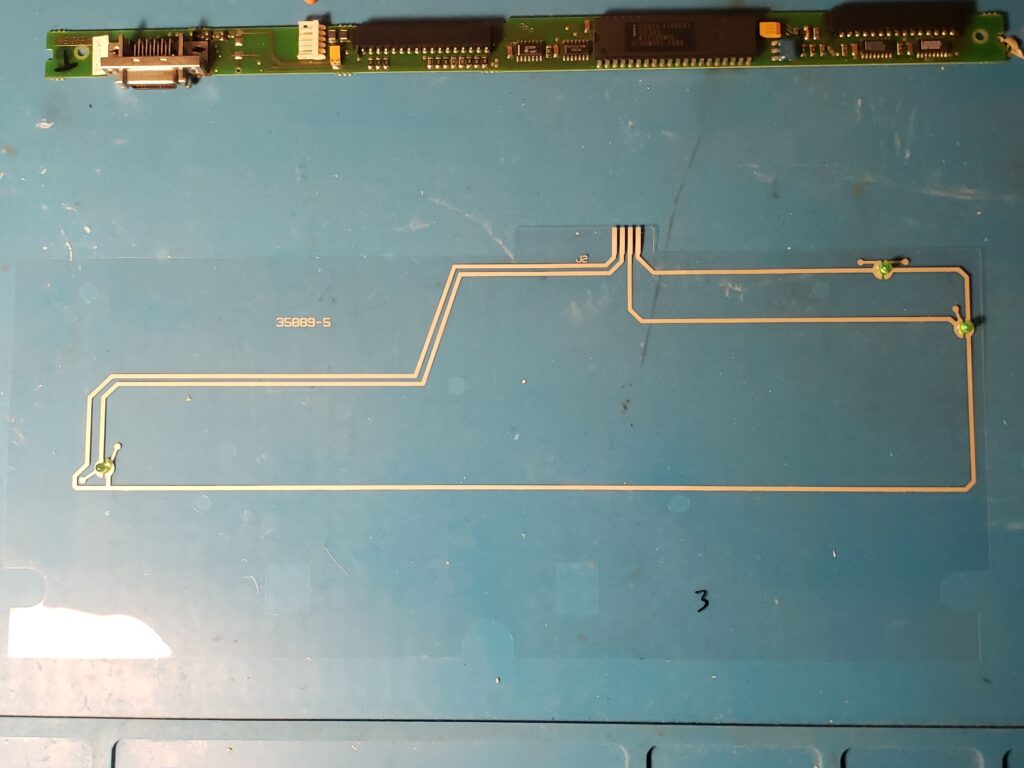
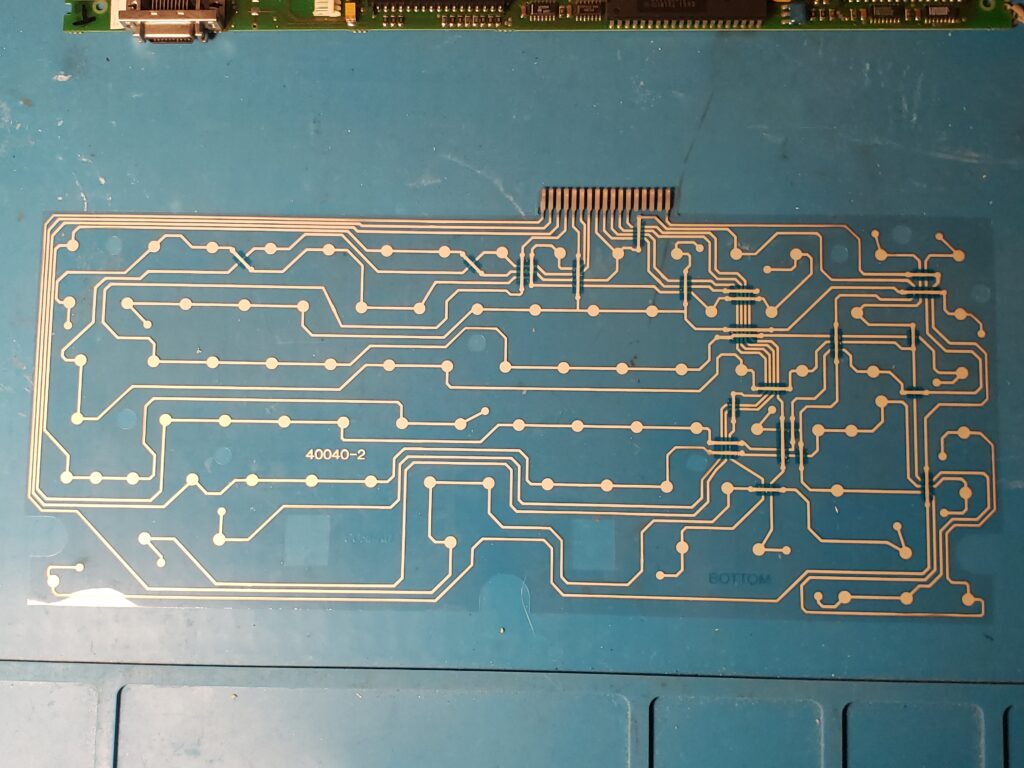
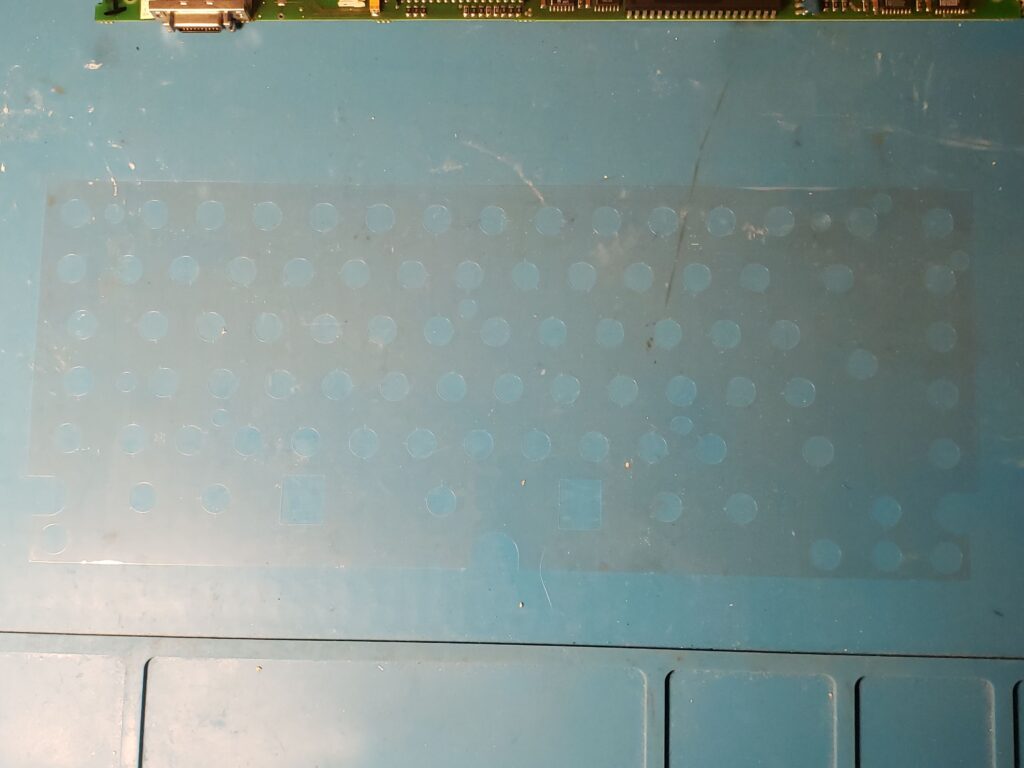
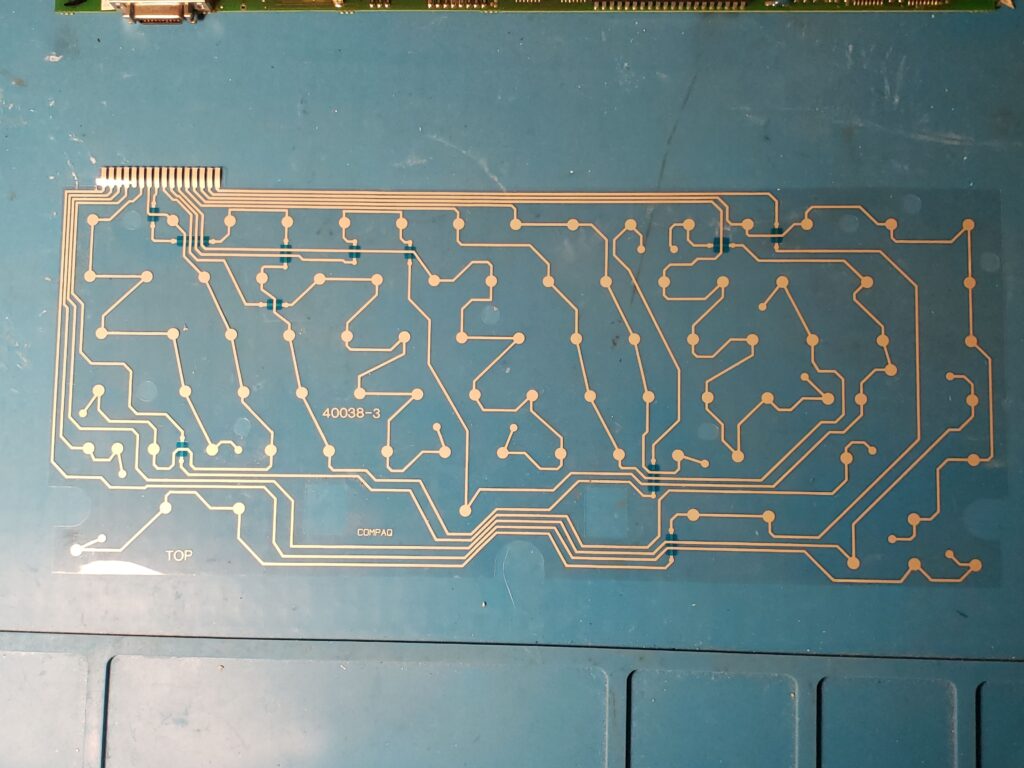
I was surprised and amazed at the LEDs being soldered directly to the keyboard plastic membrane. That is some fine heat control! The board with the 26923 Keytronic/Intel chip is interesting as well.
The last 4 photos are the layers of the membrane keyboard, in order from the top layer, to the bottom.
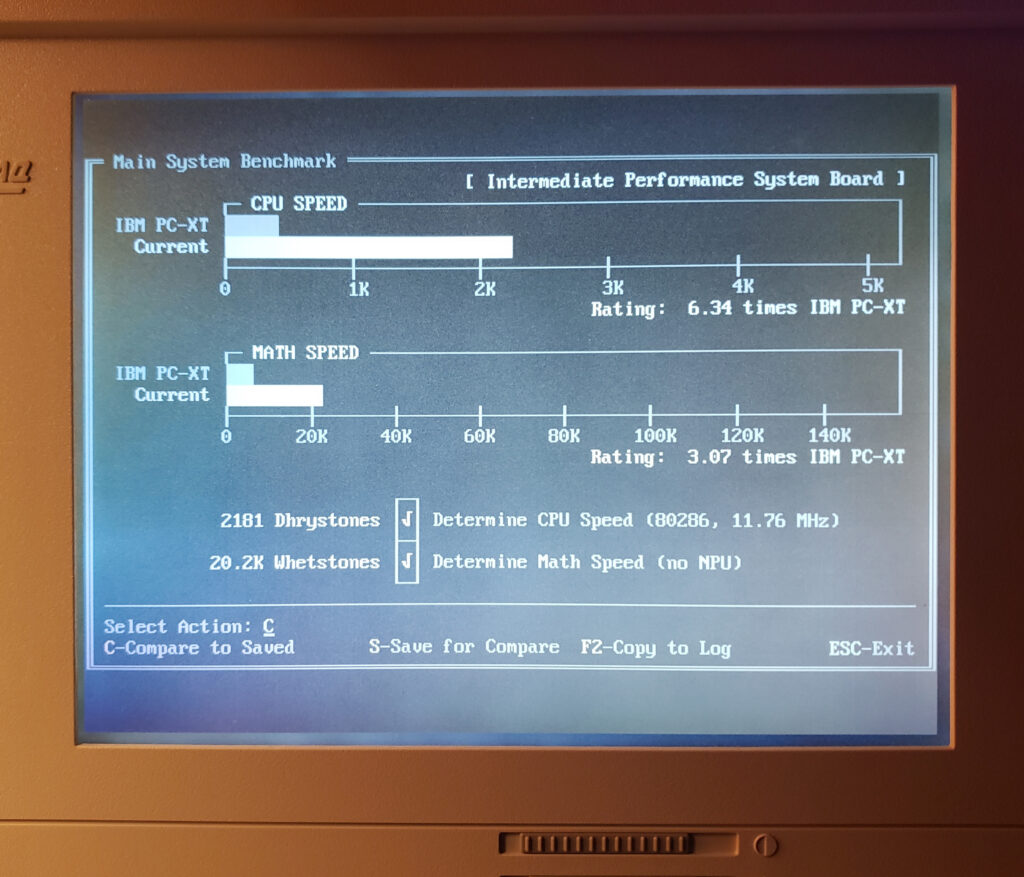
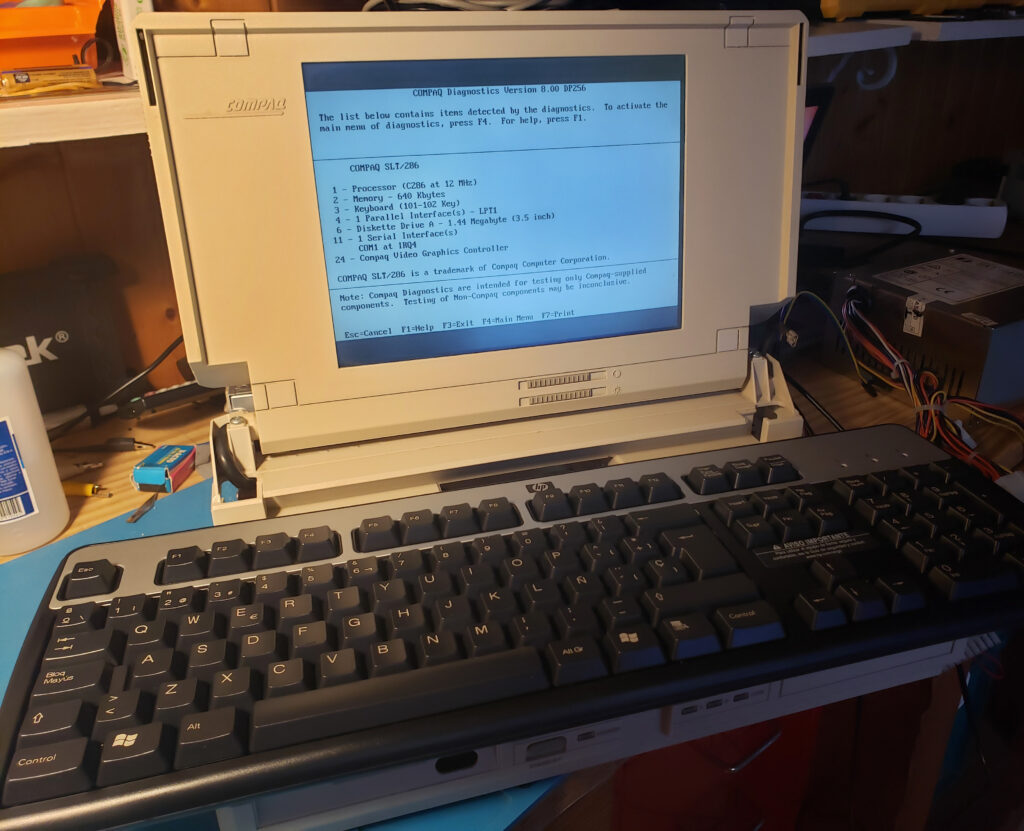
Screen Shots
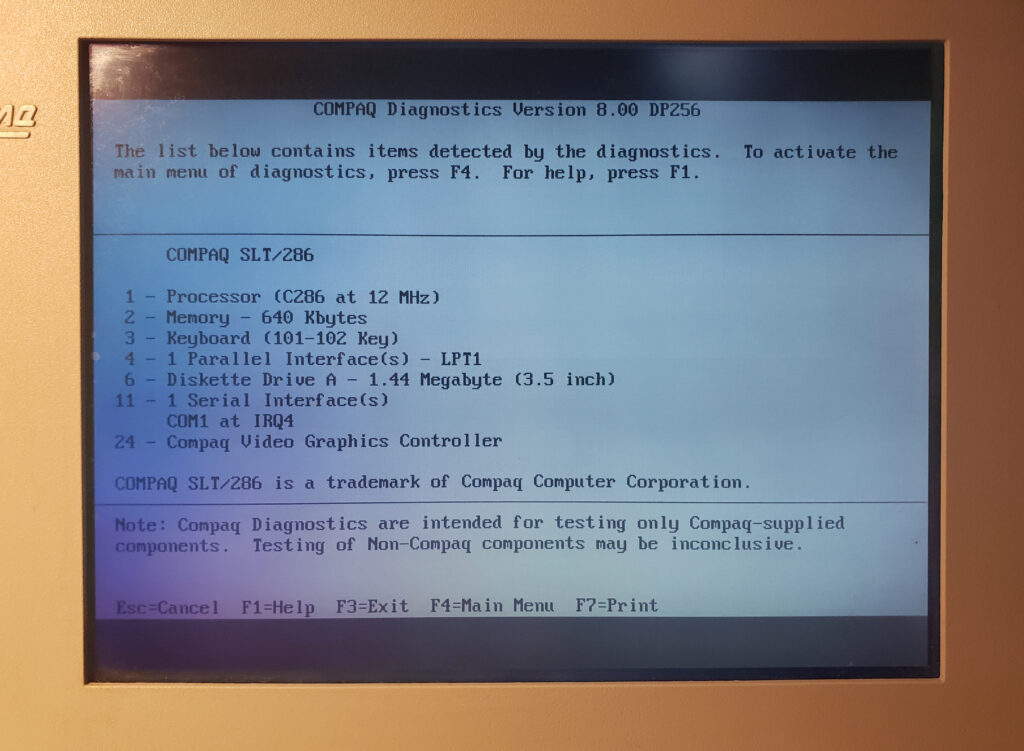
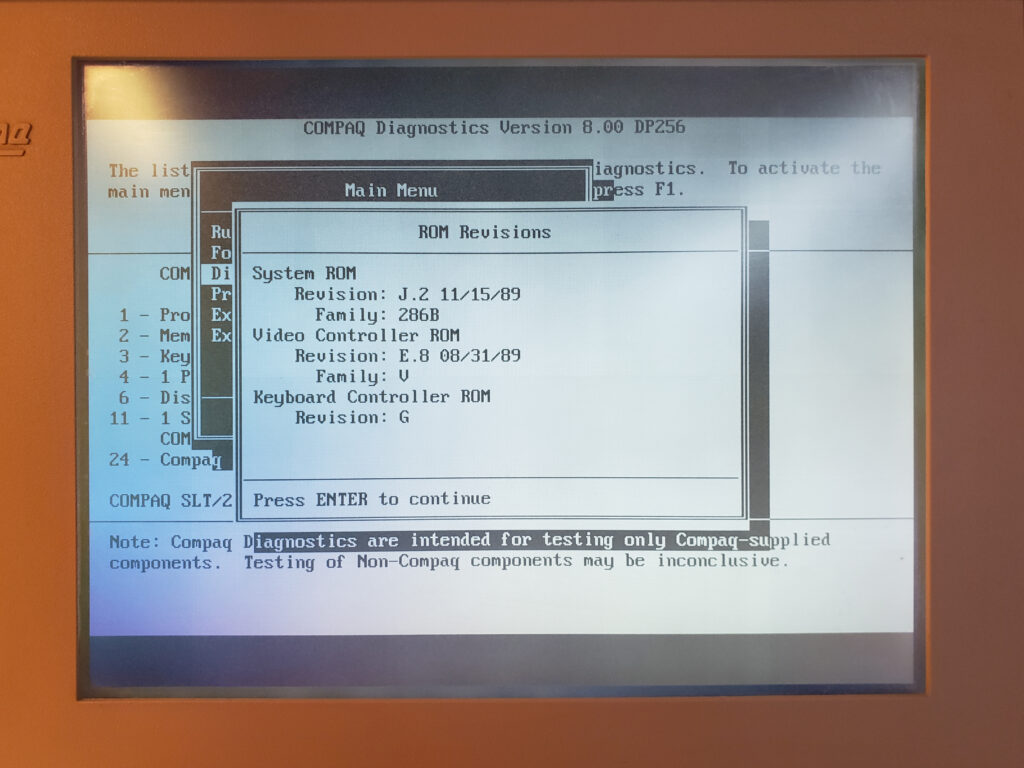
Just a few screenshots of system specs:
Powwwweerrrrr….!